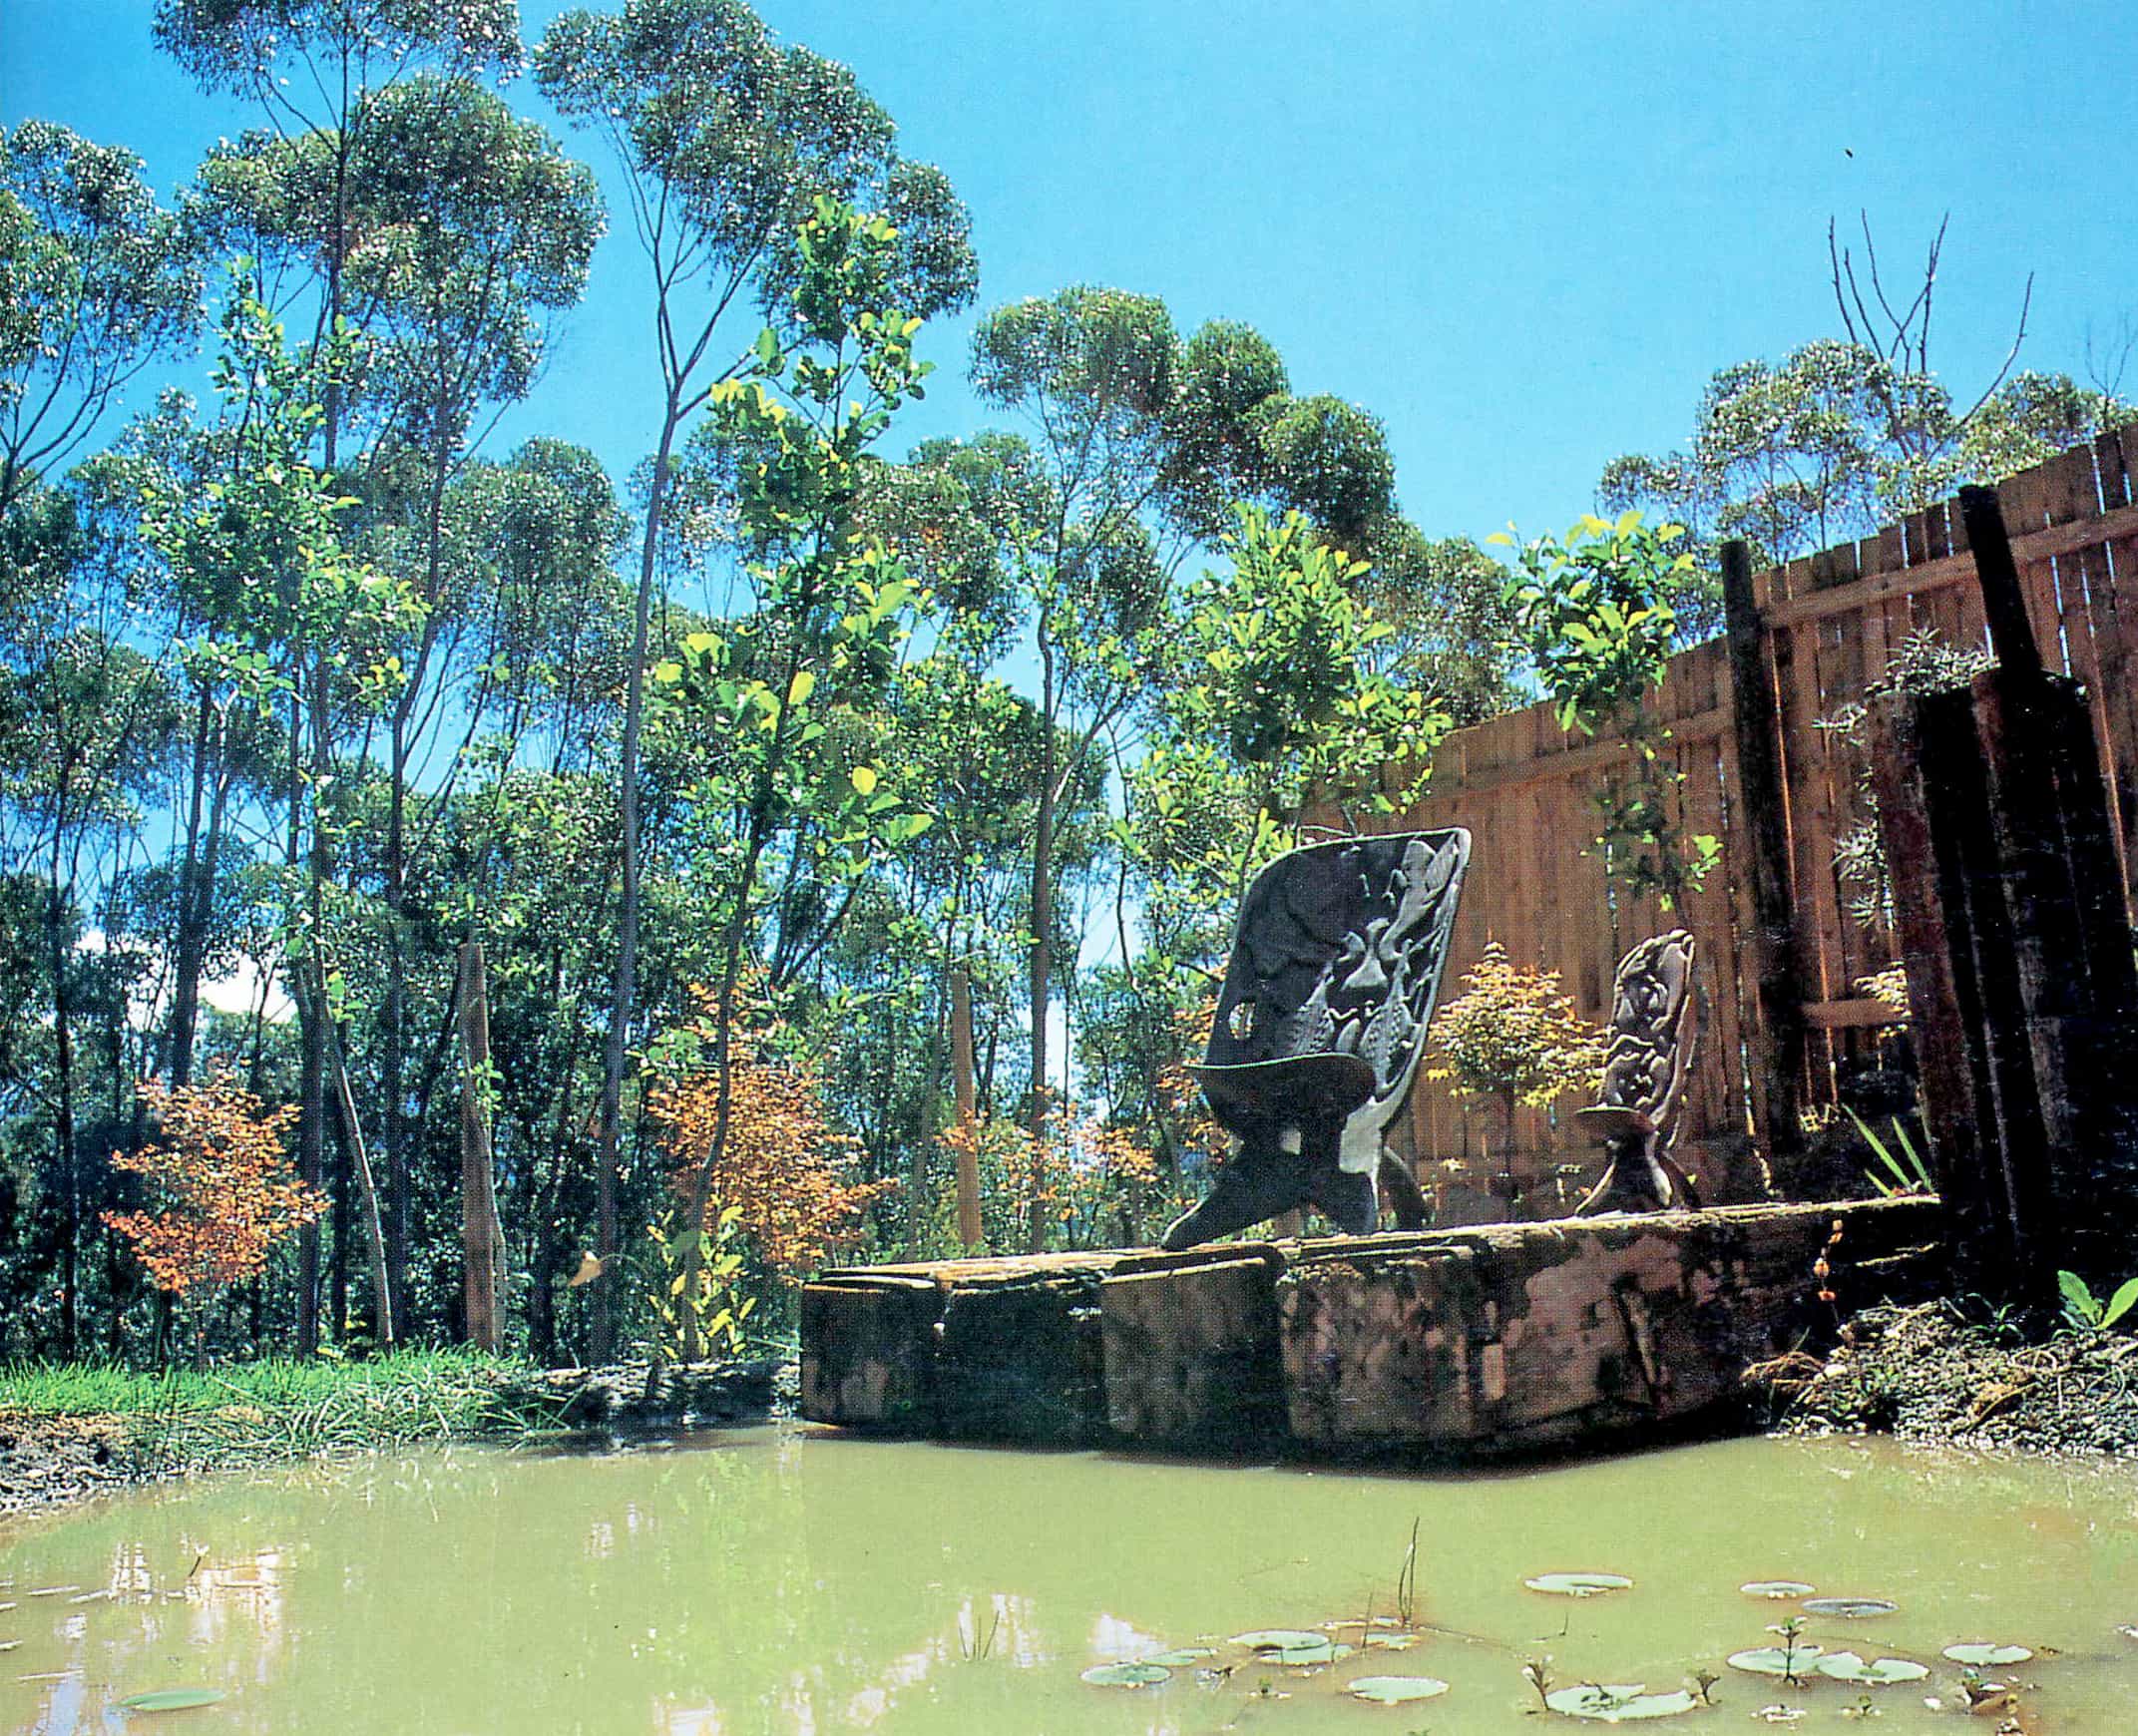
A Bentonite Clay Pond Step-by-Step
Also known as Clay Puddling, this is how you make a natural pond without a liner.
To create this bentonite clay pond the bentonite clay enables you to create a beautifully natural-looking pond, it is inexpensive and relatively simple to use. No special skills are necessary, and it will take you only a few days to complete. If yours is a large pond, you would be advised to hire a compacting machine, otherwise tools are minimal. The secrets of success with a bentonite clay pond are to follow the guidelines carefully and to avoid working in wet weather. You will need at least three days of constant sunshine to complete this project.
Things people search for to get here:
Can you build a pond without a liner?
How do you make puddle clay?
How deep should I dig my pond?
How to build a natural pond without a liner?
What to use instead of a pond liner?
Materials
For an irregular, meter-deep (3 ft 3 in) pond 5 m x 4 m (15 ft 5 in x 13 ft 1 in):
200 kg (440 lb) bentonite clay or sodium clay
Here are a few things you will need for this project:
Heavy duty digging shovel
Steel tamper or punner
Bentonite or sodium clay
Preparation
Step 1 – Mark Out
Mark out the perimeter of your pond to get an idea of the outline you want. The shape does not have to be as precise as in some other methods and can be changed as you start excavation if you wish.

Step 2 – Dig Out
First dig out the soil to the required depth, bearing in mind that quite a lot (200 mm/8 in) will be returned to the hole. Make sure that the walls of the pond do not slope more than 1:3. Dislodge and remove all vegetation, stones and tree stumps. You can take most of the soil away, although you will need to retain some to mix with the bentonite and to spread over the mixture once it has been compacted. There is no need to weigh the soil out, but you will need a total of 5 m³ (6½ cu yd), which is a hefty pile.
Construction
A Tamper is an essential tool for this pond
It depends on the size of your pond but these compactors do make the job easier.
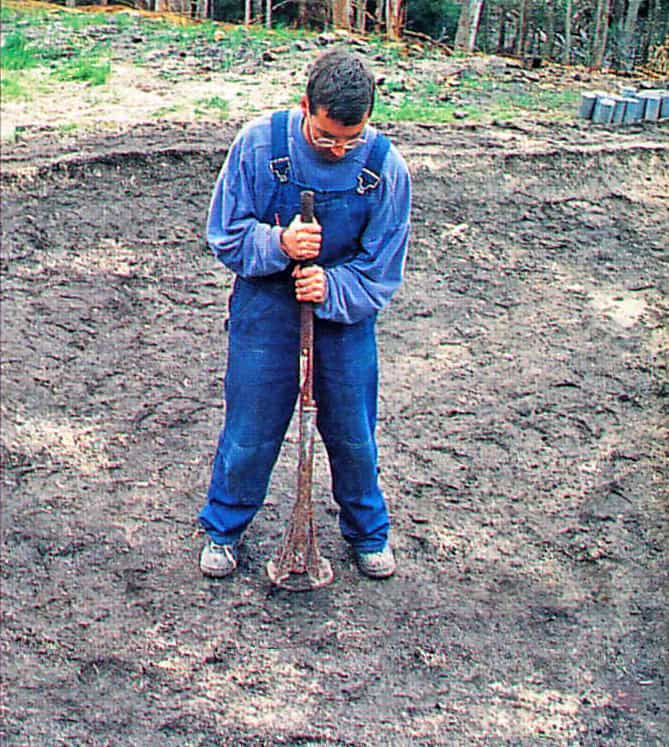
Step 3 – Compact
Compact the floor area of the pond with a tamper/punner or with a compaction machine (plate compactor). Make sure the banks are also compacted thoroughly.
Here are a few bentonite/sodium clay items for this pond
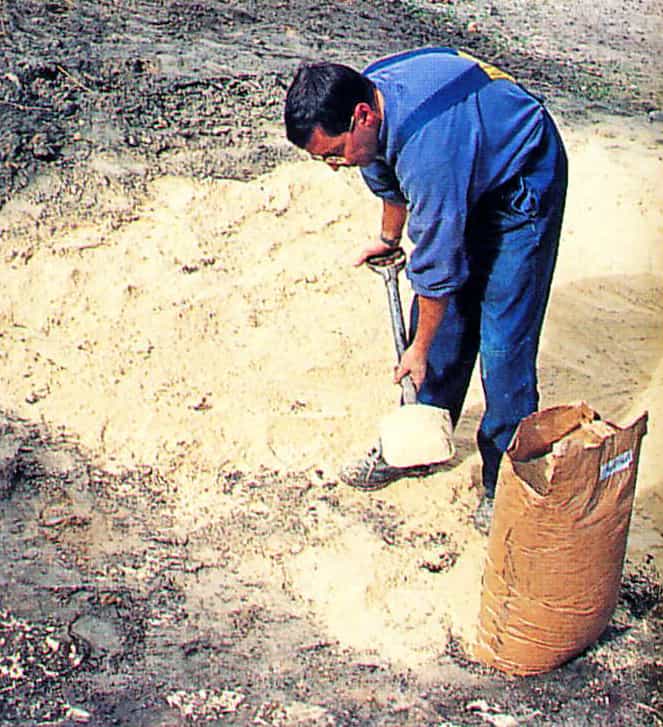
Step 4 – Spread Bentonite
Spread the bentonite powder evenly over the surface of the excavation. Each 40 kg (88 lb) bag should cover about 5 m² (6 sq yd)
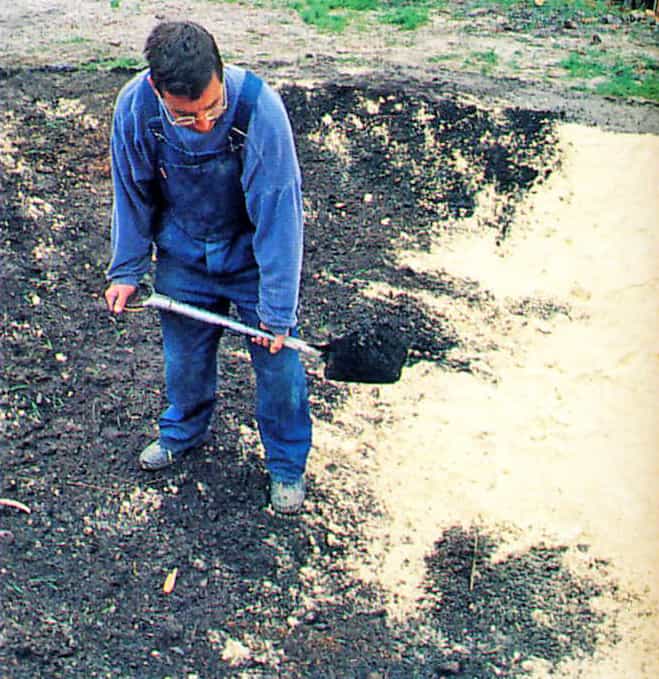
Step 5 – Spread Soil
Now spread a layer of soil about 100 mm (4 in) thick over the blanket of bentonite. You can usually utilize the excavated soil for this purpose.
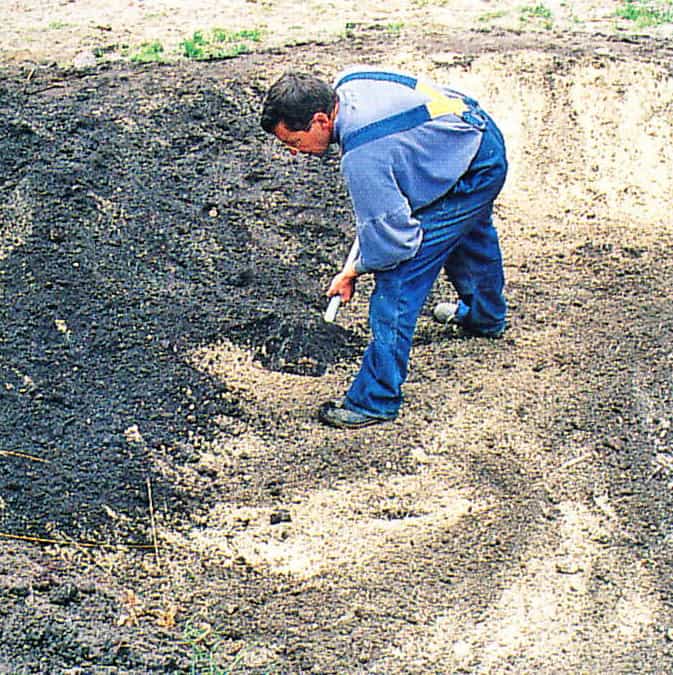
Step 6 – Mix In
Working systematically from one side of the pond to the other, thoroughly mix the bentonite and soil with a spade; or use a rake to combine the materials.
Step 7 – Compact Again
Compact the walls and basin of the pond for the second time. Once again, you can use a homemade tamper/punner or a plate compactor machine.
Step 8 – Spread Soil
Spread a 100 mm (4 in) layer of soil over the compacted materials. This will act as a protective layer.
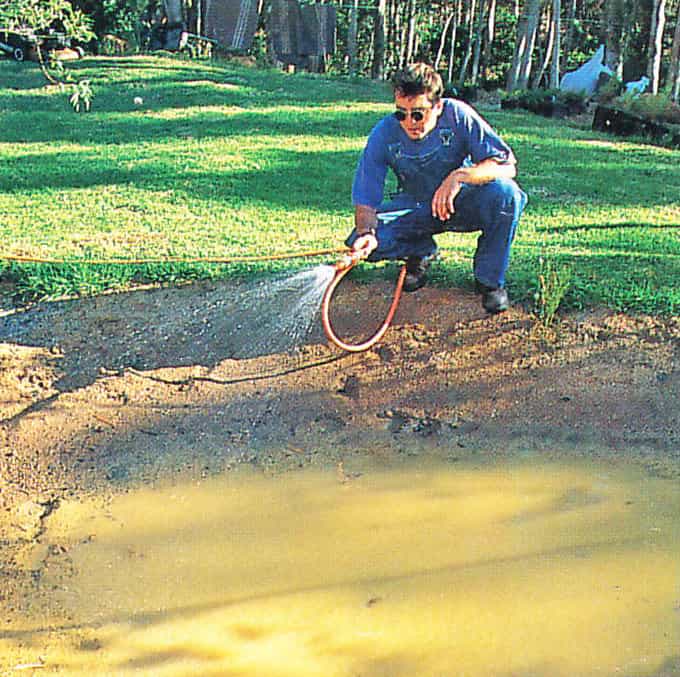
Step 9 – Sprinkle Water
Use a hose to sprinkle water over the prepared surface, and then compact well once again.
A hosepipe is essential to sprinkle water on the surface:
Step 10 – Leave For 48hrs
Leave the pond for about 48 hours to allow the water to react with the bentonite. As the clay draws out the moisture, you will be able to see the top layer of soil drying out. This is essential if the sealing process is to be successful.
Step 11 – Spray Again
Wet the surface again thoroughly, with a gentle spray of water, after the Step 10 two-day period and then leave overnight.
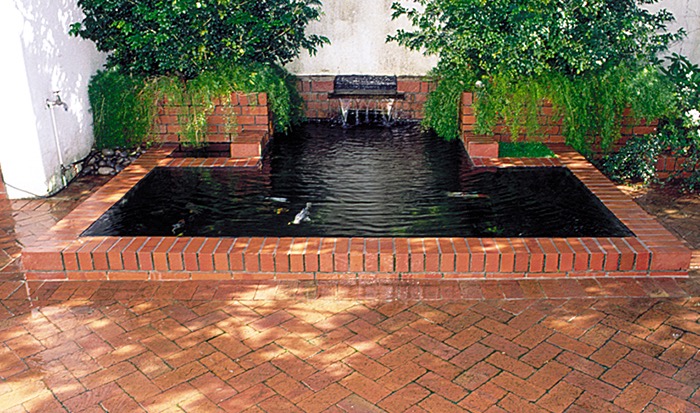
Step 12 – Fill Pond
The following day you can fill the pond. NOTE. Do this slowly, with a fine spray, to avoid damaging the sealed surface.


4 Comments