11 Easy Steps For A Wall Mounted Fountain
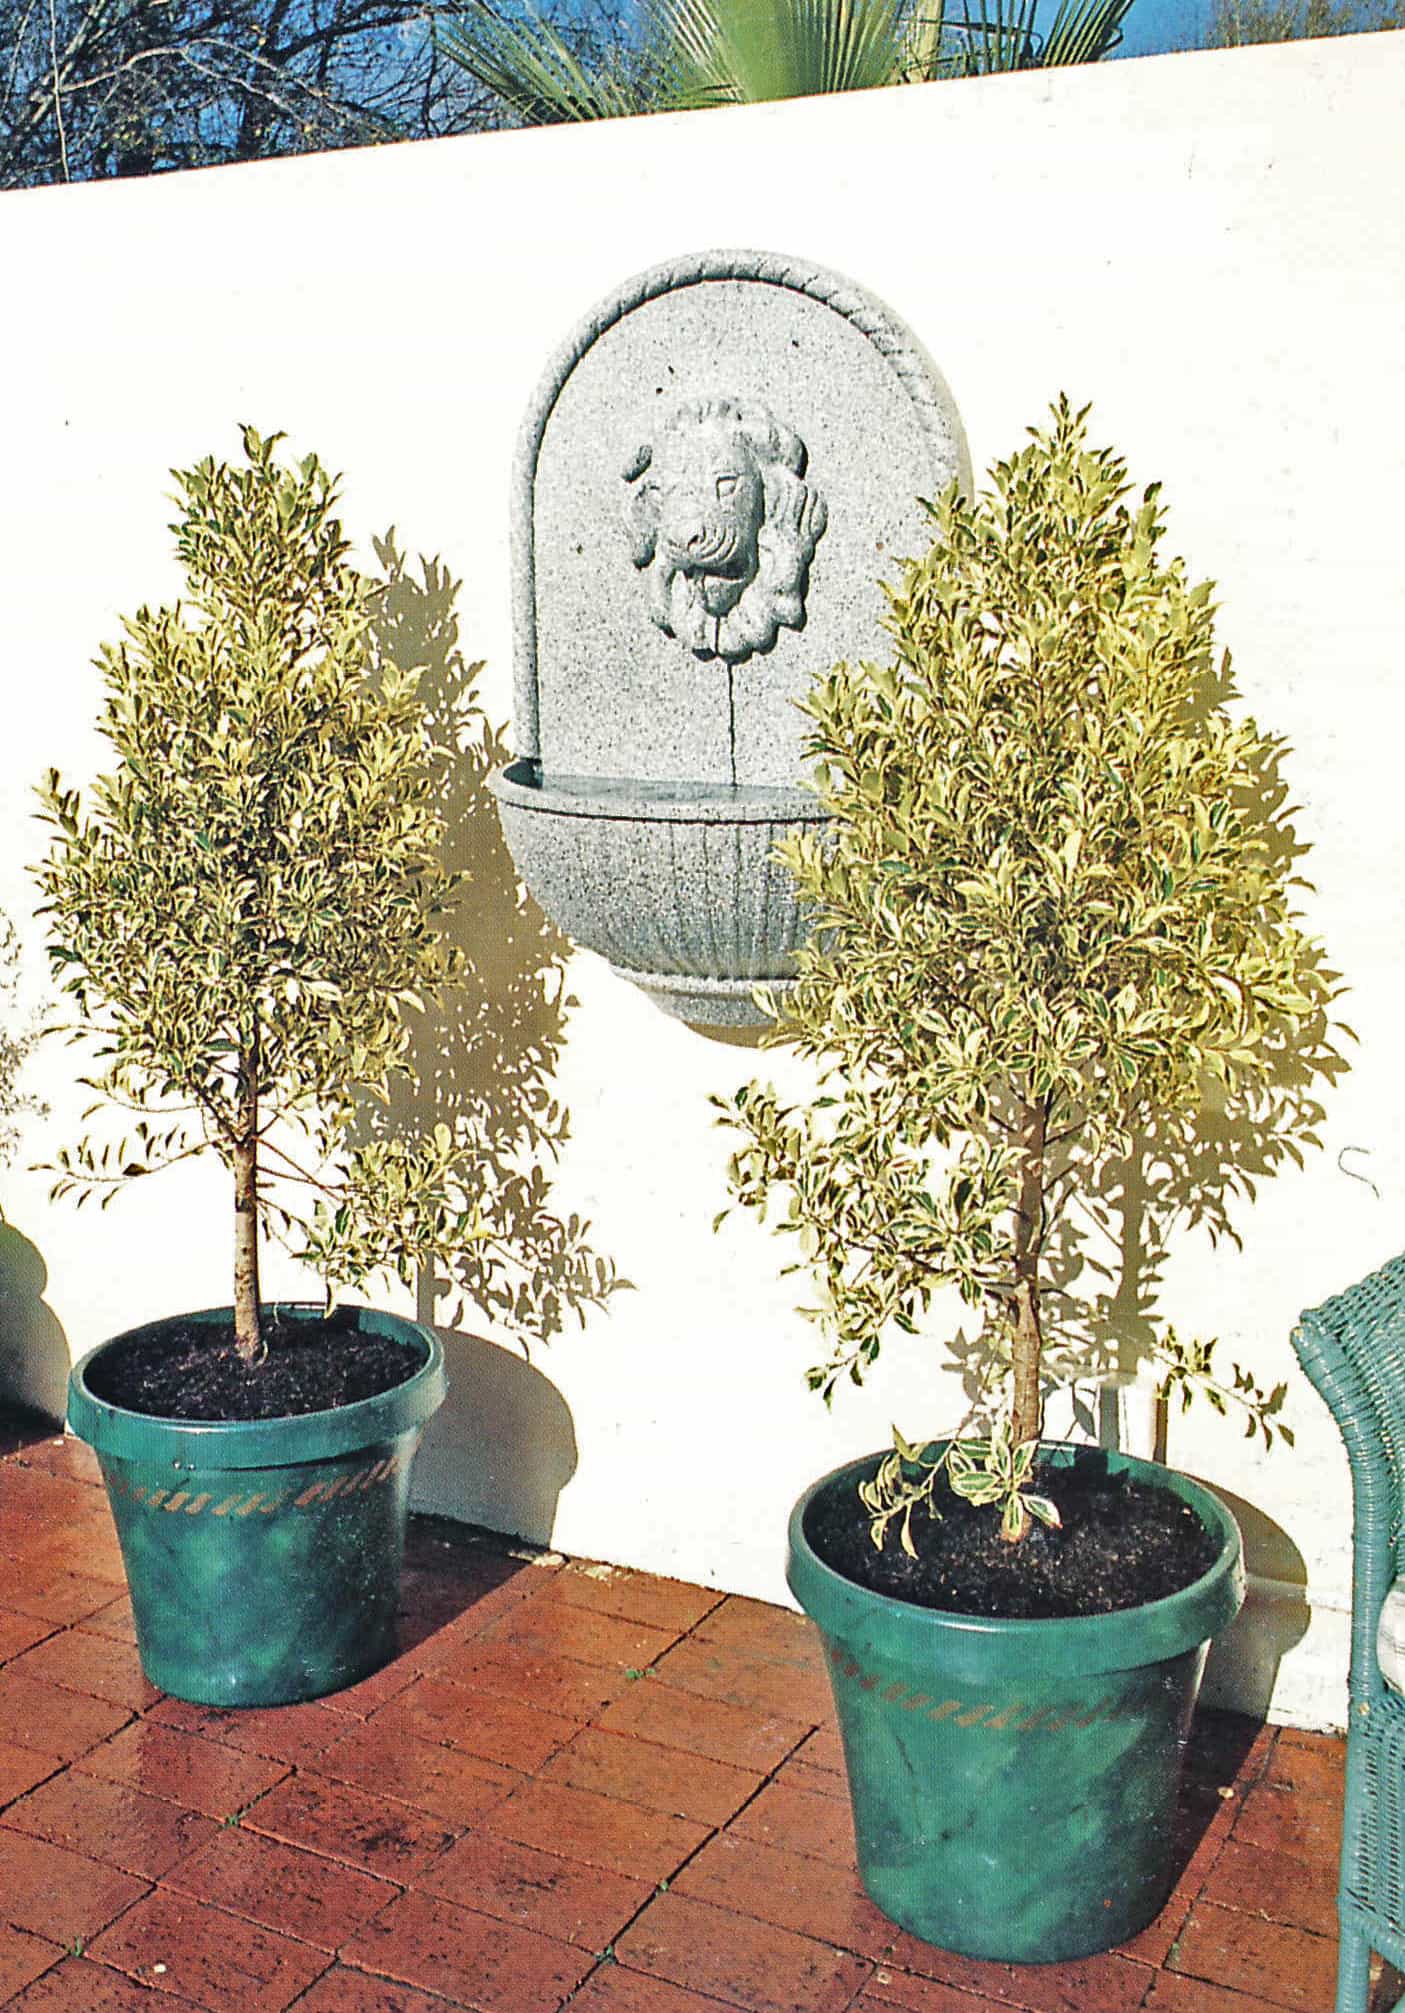
Get a precast wall mounted fountain there are many available. Some, like this one, are supplied in two parts, but assembled as one unit, while others, also consisting of an ornamental outlet and catchment container, are secured to the wall at two separate points. Some are molded as a single unit, with a head of some kind and a basin. While the basic installation of the wall mounted fountain is the same for all designs, the pipework of a two-part fountain will have to be embedded in the wall as illustrated in the Pond with Planters. Apart from the fountain itself, minimal materials are required for this project. Note, however, that the number and size of screws and other accessories may alter according to the design.
Materials
precast fountain for mounting on a wall
4 x No. 8 x 50 mm (2 in) screws
4 x M8 Rawl plugs
1 x 1m x 10mm (1yd x 3/8 in) flexible tubing
1 x submersible pump, with 700 mm (2 ft 4 in) water head (or less)
outdoor cable and conduit
Preparation
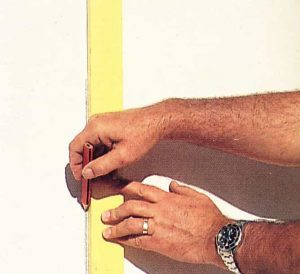
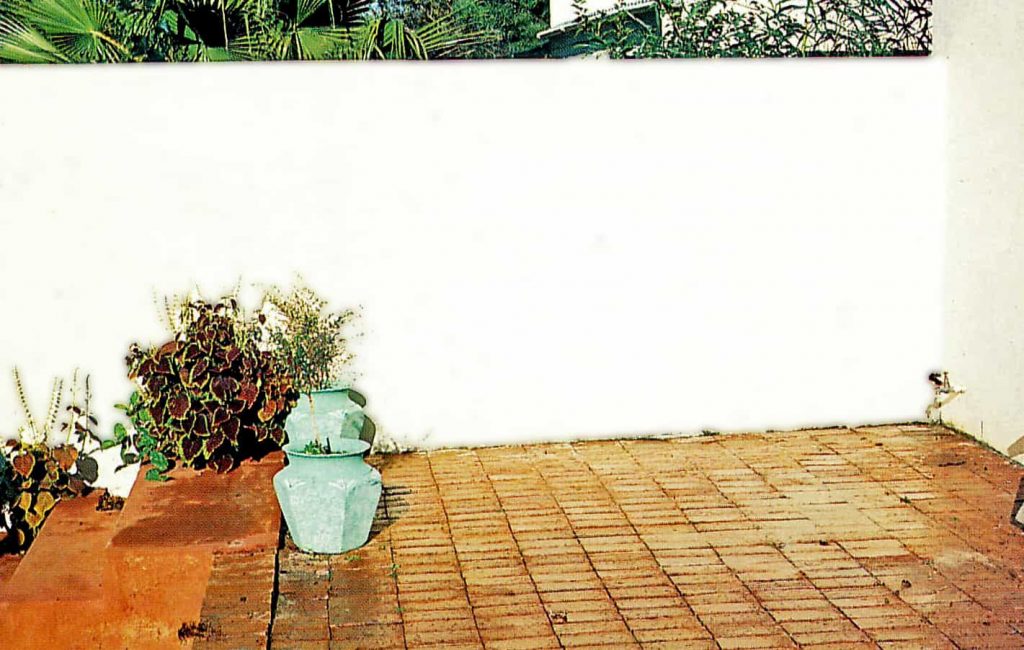
Step 1 – Choose a Spot and Mark
Decide exactly where your fountain is to be mounted and mark a vertical line on the wall using a carpenter’s pencil and spirit level for accuracy.
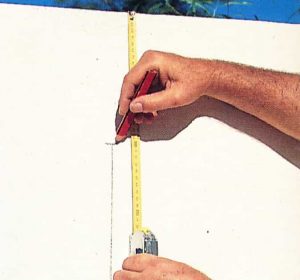
Step 2 – Measure and Mark Top/Bottom
Now use a retractable tape to measure the point where the top (or bottom) of the fountain will be positioned. This one will be affixed about 200 mm (8 in)from the top of a 1.8 m- (6 ft-) high wall. Measure the full height of the mold and mark the position of its lowest point on the wall.
Step 3 – Use a Spirit Level
Before you attach anything to the wall, mark where the top of the basin will be positioned on the wall. Since it is essential that your container is absolutely straight, use a spirit level rather than rely on your own judgement.
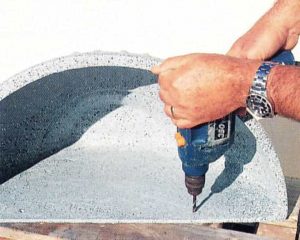
Step 4 – Drill Holes For Screws
Pre-drill two holes in the basin, using the appropriate bit for the material you are working with – in this particular case, a masonry bit. Also make absolutely sure that the bit is the correct size for the screws you are using.
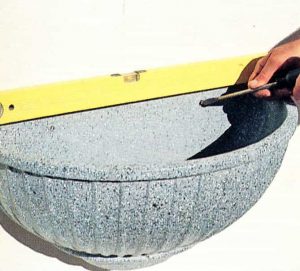
Step 5 – Attach And Level
Attach the basin to the wall, double- checking that it is absolutely level.
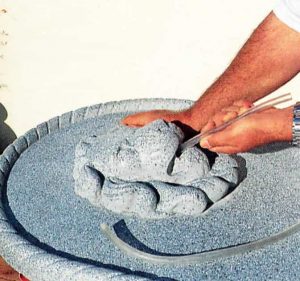
Step 6 – Insert Tubing
Insert the tubing through the lion’s mouth, ensuring there is sufficient to extend to the pump below.
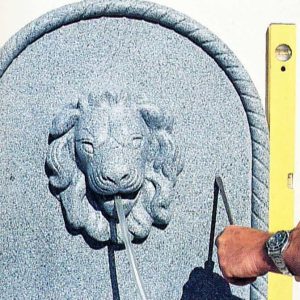
Step 7 – Screw Panel To Wall
Screw the top panel to the wall as before. Make certain the bottom connects snugly with the basin and that the sides are perfectly vertical. Since there is a slight gap between the panel and the wall, you can ease the tubing into position so that it protrudes between the two sections of the fountain. Make absolutely sure there are no kinks in the tubing or the water will not be able to flow properly.
Step 8 – Trim Tubing
Using a sharp utility knife, trim the tubing so that it does not extend beyond the lion’s mouth.

Step 9 – Attach Pump
Attach the pump outlet and tubing.
Don’t like our fountain well here are another couple to choose from
| Product | Product Description | Star Rating | Check Price |
|---|---|---|---|
 | Lion Face Roman Outdoor Wall Water Fountain 31" High for Yard Garden Patio Deck Home Entryway | , https://www.thepondprofessor.com/wp-content/uploads/2021/08/4-half-Stars-AMA-S.jpg, https://www.thepondprofessor.com/wp-content/uploads/2021/08/4-half-Stars-AMA-S.jpg, 4-half-Stars-AMA-S |  |
 | Waterfall Wall Mounted Fountain & Backyard Water Feature | , https://www.thepondprofessor.com/wp-content/uploads/2021/08/4-half-Stars-AMA-S.jpg, https://www.thepondprofessor.com/wp-content/uploads/2021/08/4-half-Stars-AMA-S.jpg, 4-half-Stars-AMA-S | |
Step 10 – Fill With Water
Now fill your fountain with water.
Step 11 – Plug In
You will need to plug the pump into a nearby power point to operate the fountain. There are various way of doing this, see Building Basics for more info.
<< BACK TO: Step-By-Step


One Comment