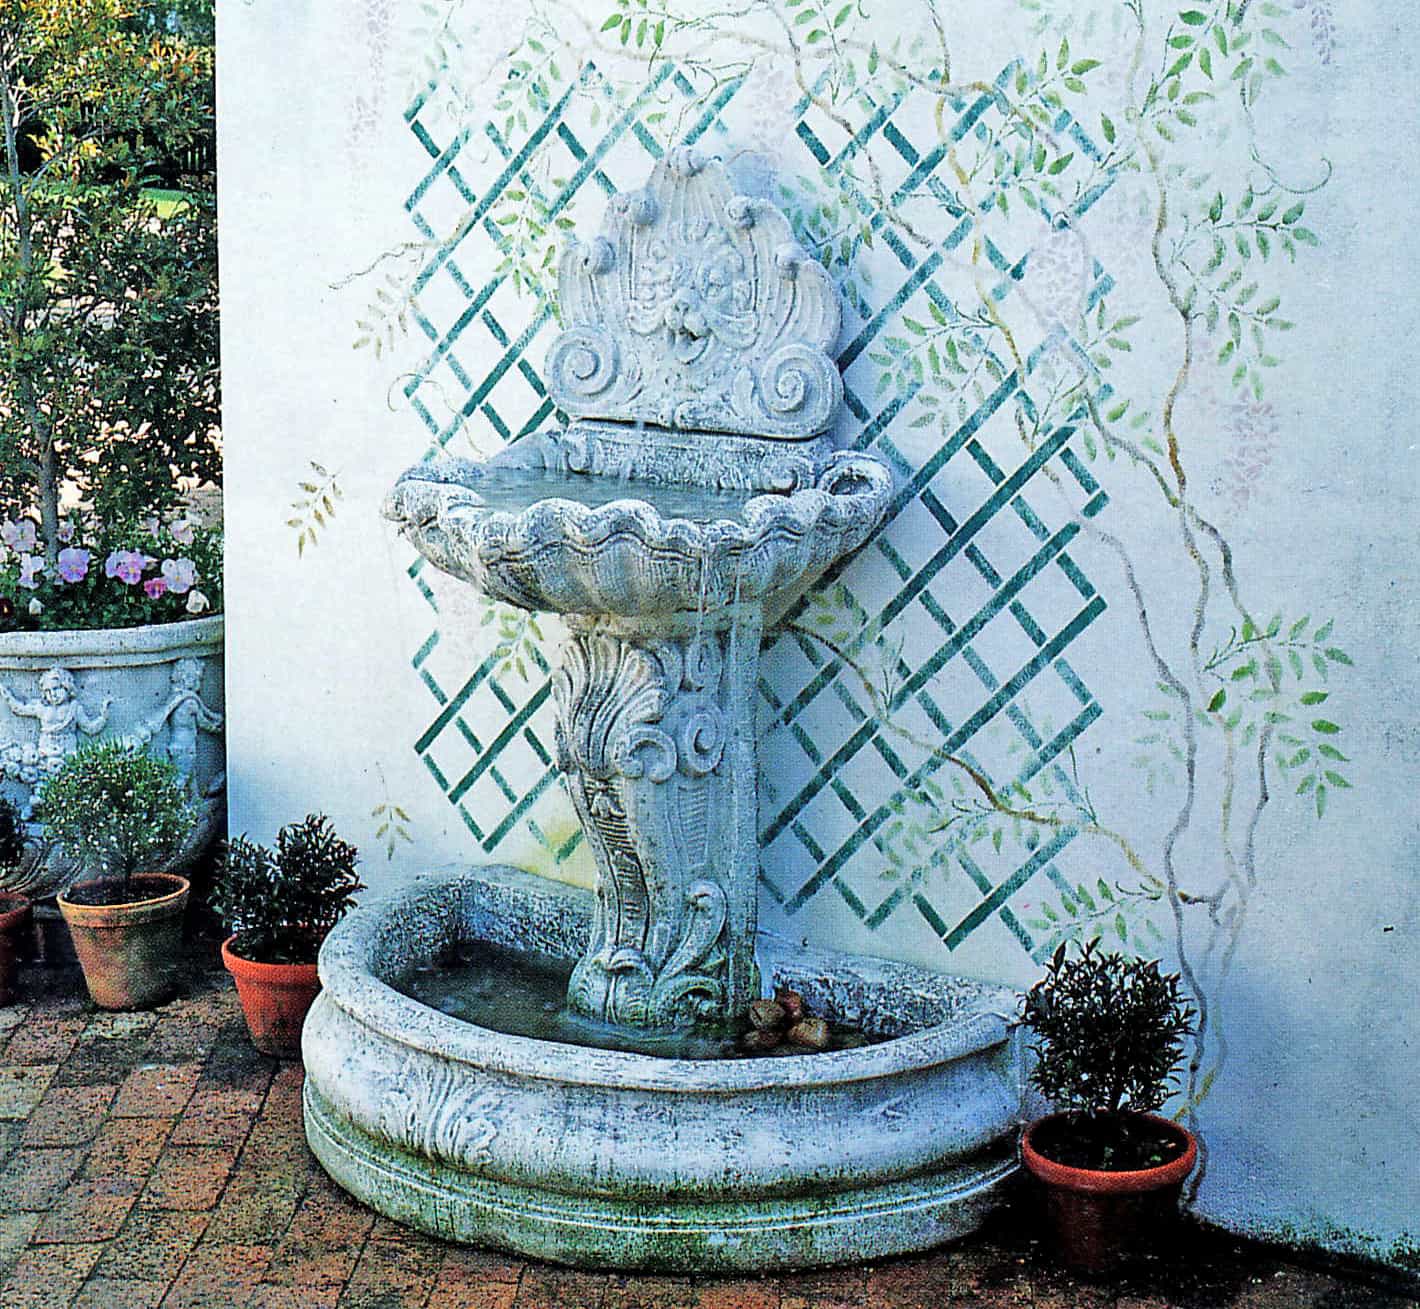
Assemble a Precast Fountain Feature
Perhaps the most popular fountains are those which comprise a precast pond and some kind of ornamental structure with pedestal which sits in it and stands against a wall. Like the BirdBath Fountain, these are easy to erect and the myriad of designs available make them suitable for most applications. Although many of the precast fountain versions are freestanding, several designs can be placed against a wall, which makes them a particularly good choice for the smaller garden or townhouse patio. There is, of course, nothing to stop you installing this type of precast fountain in a pond or in the garden itself, although you may first need to establish a solid and level surface to accommodate it.
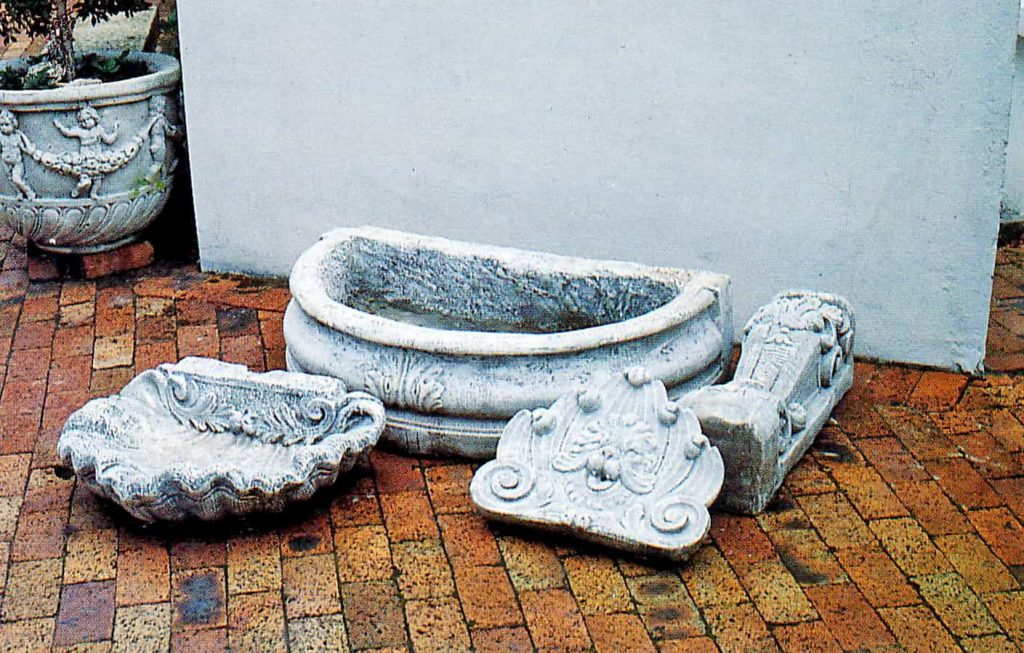
Materials
precast fountain (pond, pedestal, bowl and gargoyle)
cement-based adhesive
heavy-duty hook with Rawl plug
1 x 1.7 mm x 10 mm (5 ft 6 in x 3/8 in)
flexible tubing
1 x submersible pump, with 1.4 m (4 ft 6 in) water head
outdoor cable and conduit
Preparation
Step 1 – Check Your Power Point
Before you do anything else, make sure you have access to a power point.
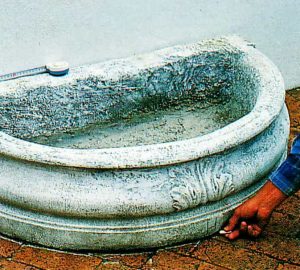
Step 2 – Decide Where
Decide where you want to erect the fountain and, if necessary, measure the distance from each end of the wall, to ensure it will be centered. If you are building a solid base for the fountain, it is essential to first mark the position of the pond.
Step 3 – Make Base Level
The next step to tackle is to ensure that the surface beneath your fountain is absolutely flat and level. If your paving or hard surface slopes, you will have to build a low plinth with bricks and mortar, or with concrete cast in situ. Slight imperfections in gradient can be rectified with a little mortar, held in place with shuttering while it dries.
Step 4 – Check Pipework
Many precast concrete fountains are made to accommodate pipework in the center of the pedestal, if it is freestanding, or behind the bowl, as is the case with this design. If necessary, make a groove by cutting carefully with an angle grinder. It is important that the tubing does not kink and prevent the water from flowing freely.
Here are a couple Of Easy To Install Water Features
| Product | Product Description | Star Rating | Check Price |
|---|---|---|---|
 | Bamboo Accents Water Fountain for Yard, Indoor/Outdoor Fountain, 12” Wide Three-Arm Style Base | , https://www.thepondprofessor.com/wp-content/uploads/2021/08/4-half-Stars-AMA-S.jpg, https://www.thepondprofessor.com/wp-content/uploads/2021/08/4-half-Stars-AMA-S.jpg, 4-half-Stars-AMA-S |  |
 | Mirror Waterfall Fountain with Stones and Light, 72 Inch Tall, Silver | , https://www.thepondprofessor.com/wp-content/uploads/2021/08/4-half-Stars-AMA-S.jpg, https://www.thepondprofessor.com/wp-content/uploads/2021/08/4-half-Stars-AMA-S.jpg, 4-half-Stars-AMA-S | |
Installation
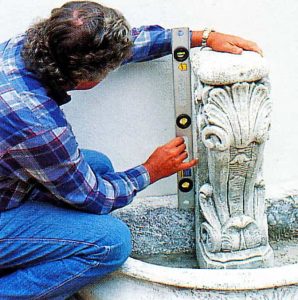
Step 5 – Make Sure It Is Vertical
Position the pedestal in the center at the back of the pond and use a spirit level to ensure that it is vertical. Precast products may be uneven, which adds charm, but can make installation rather difficult. As each section of the fountain balances on the next, the pedestal must be straight.
Step 6 – Cement Base
If the pedestal is not perfectly straight and upright, you can lodge chips of stone under the base when you cement it into its permanent position. To do this, you can use a strong, dry-cement screed or a cement-based adhesive. Only a small quantity is required, and it should be a relatively dry mixture.
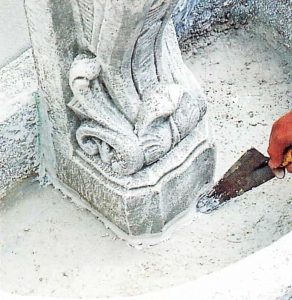
Step 7 – Smooth Edges
Smooth the edges of the adhesive with a trowel and check that the top of the pedestal is level. Allow to dry overnight.
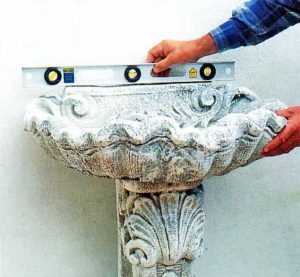
Step 8 – Check Level
Once the pedestal is secure, the scalloped bowl can be cemented into position To ensure that the water overflows into the pond and does not splash onto the surrounding paving, the bowl is set so that it tips forward very slightly. Nevertheless, the back of the container must be level, as this, in turn, will support the spurting gargoyle.
Step 9 – Attach Gargoyle
Since this precast fountain is designed to be erected against a wall, the gargoyle must be securely attached in some way. This one is made to hang and you will have to drill into the wall and bolt a heavy-duty hook in position. By using a hook, rather than a straight bolt, you will allow the top panel to fall forward slightly which will, in turn, affect the flow of the water.
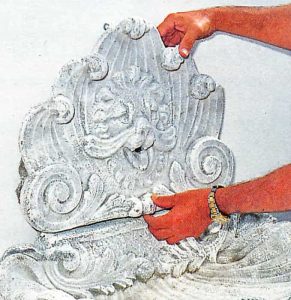
Step 10 – Put Tubing in Groove
Before you hang the gargoyle, position the tubing behind the fountain structure so that it fits snugly into the groove behind the scalloped bowl. Allow sufficient tubing to protrude above this container so that you can push it through the gargoyle’s mouth.
Step 11 – Hang Gargoyle
Now hang the gargoyle on the hook, pushing the length of tubing carefully through the hole from behind. If it is too long, you can trim it with a utility knife so that it is flush with the opening.
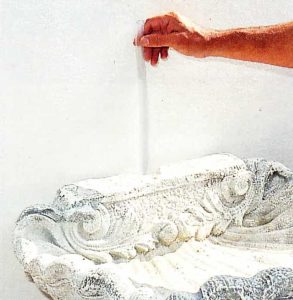
Step 12 – Fill Pond With Water
Fill the pond. You can also pour a little water into the scallop to facilitate the flow.
Operating the fountain
Step 13 – Switch On
Check that the pump has the correct water head for your precast fountain. Connect the tubing to your pump as previously described and plug the pump into the power point provided. Switch on and enjoy the soothing trickle of water.
NEXT: Wall Mounted Fountain >>
<< BACK TO: Step-By-Step


One Comment