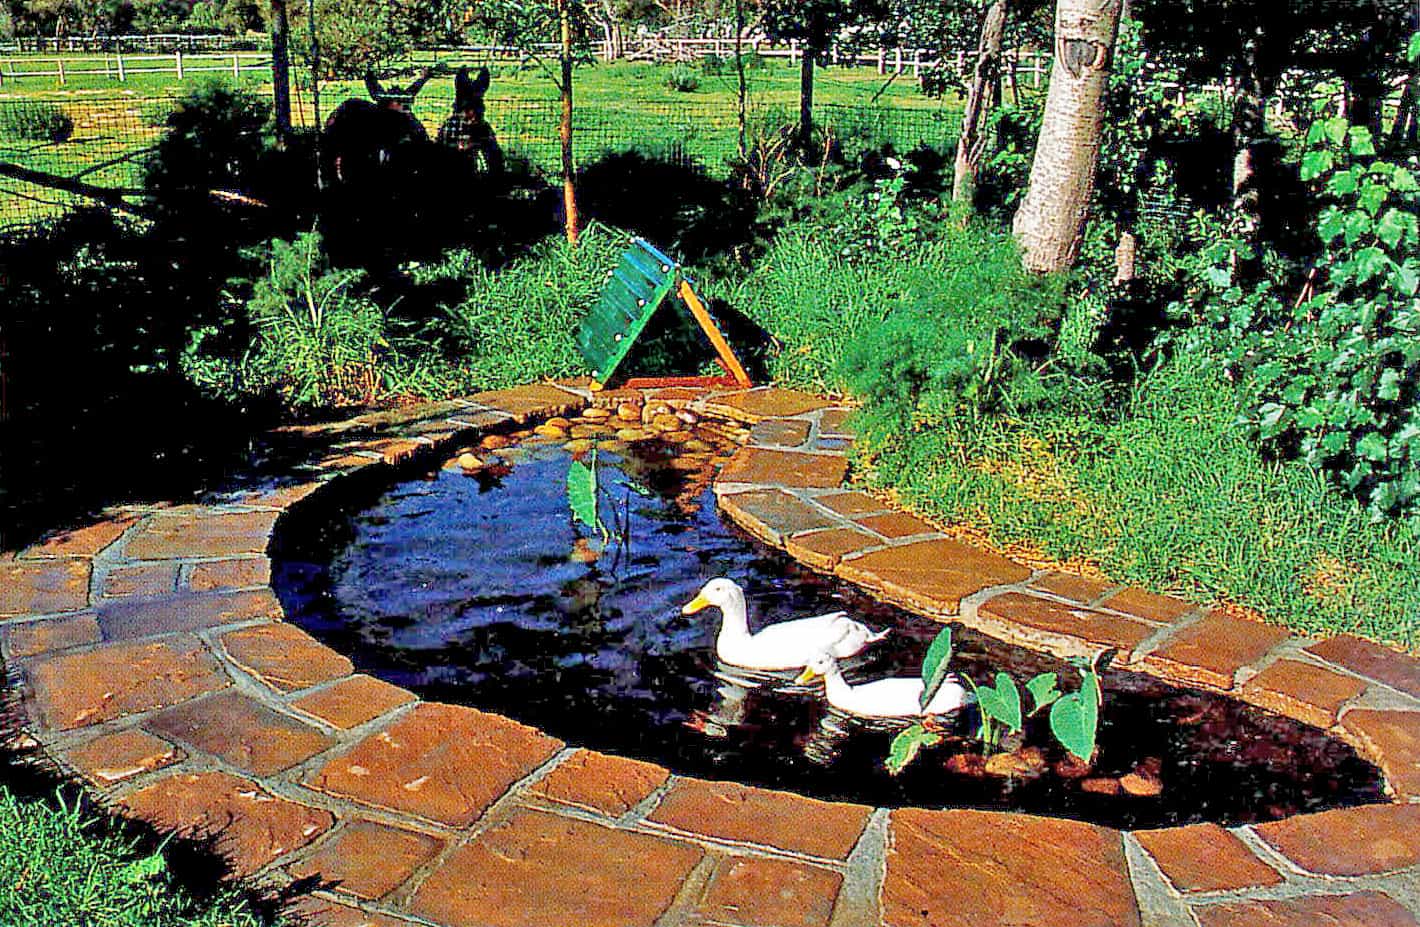
We Show You How to Build a Small Duck Pond
Ducks will make themselves at home in just about any reasonable container of water, from a large bowl to a swimming pool. If you are going to build a small duck pond specially for ducks, any construction method is suitable. Flexible pond liners probably offer the most inexpensive option for a small duck pond. They are also reasonably quick to install and may be used for a pond of virtually any shape and size. A variety of materials are suitable for liners, and before you start, investigate what is available in your area. For this project, 500 micron polyethylene sheeting was used to make a randomly-shaped small duck pond. The deepest part of the pond is about 400 mm (16 in) and a 200 mm (8 in) deep shelf for marginal plants has been left around parts of the perimeter. A reconstituted stone surround overlaps the edges slightly, hiding the liner and giving the duck pond a more natural look.
These are a few searches that we have answers for on this page:
• Duck pond design
• Low maintenance duck pond
• DIY duck pond filtration system
• How deep does a duck pond need to be
• Duck pond without filter
• Duck pool ramp or step
• Duck coop
Materials
For a pond no longer than 2.8 m x 4.5 m (9 ft 2 in x 14ft 9 in) at its longest points:
1 x 6 m x4 m (19 ft 8 in x 13 ft) sheet polyethylene, PVC or EPDM sheeting
10 m² (12 sq yd) paving slabs
125 kg (275 lb) cement
0.5 m³ (0.6 cu yd) sand
270 kg (600 lb) sand (optional)
Items that are needed to build this duck pond:
Click links below
Pond liner
Spade for digging
Builders level
Rubber mallet
Builder’s trowel
Preparation
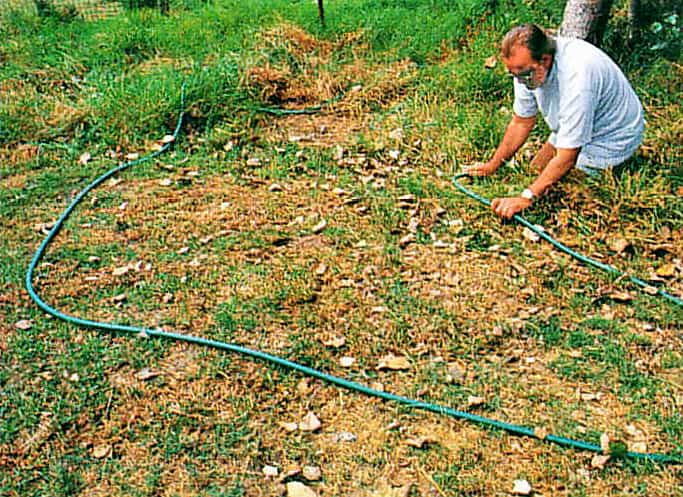
Step 1 – Mark Out Shape
Decide what shape you want the small duck pond to be and mark out the area roughly using a garden hose or length of rope. Alternatively, use pegs to define the area, or even lime and flour. This is one occasion when absolute accuracy is not essential.
Step 2 – Measure For Liner
Once you are happy with the shape, measure the longest and widest points of the pond. You must add at least twice the proposed depth to these measurements to ensure there will be sufficient liner for construction. Rather buy a little extra than find you do not have enough once the hole has been dug.
Excavation
Step 3 – Remove Grass
The first step is to remove all grass and other vegetation. If you are digging up an established lawn, you may be able to use the turfs elsewhere in the garden.
A builders shovel is an essential piece of equipment
Step 4 – Dig Out Dirt
Now dig out 200 mm (about 8 in) of soil which will take you to the depth required for plant shelves. If you need to line the pond with a layer of sand before installing the liner (see step 3), you will have to remove the soil to a depth of about 220 mm (about 8 in). Good quality topsoil can often be used elsewhere in the garden or, if mixed with compost, to fill containers for potted plants.
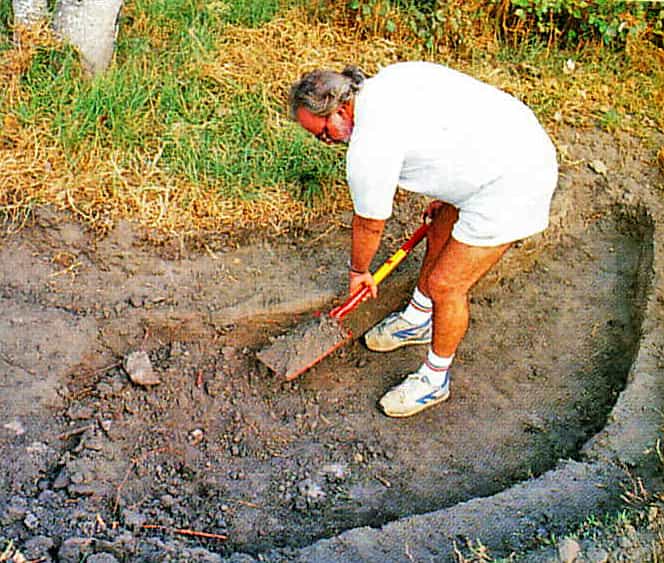
Step 5 – Create Shelf
Decide roughly where the plant shelf will extend and dig out the remainder of the pond to 400 mm (16 in), or, if you are going to incorporate a cushioning layer of sand, 420 mm (16½ in). If you wish, you can leave a reasonably even shelf, approximately 230 mm (9 in) wide, around the full circumference of the pond. This is not essential, however, and you may even want to create a shallow area at one end to enable you to introduce a greater number of marginal plants.
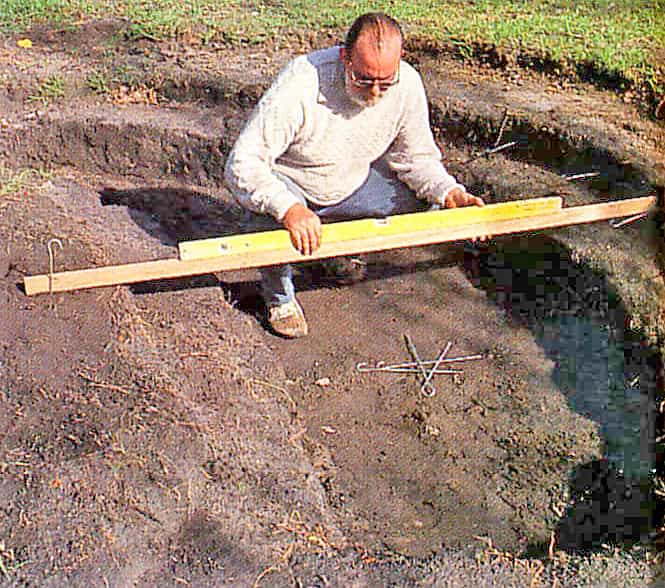
Step 6 – Check Levels
Step 9 – Remove Stones & Sticks
Inspect the sides and floor of the excavated hole and remove any sharp stones, sticks or other debris which could damage the liner.
Pond liners are needed for this small duck pond,
choose your size
Fitting the liner
Step 10 – Add sand (if needed)
If you are going to line the inside of the excavation with sand, do so now, taking care not to damage the shelves you have created.
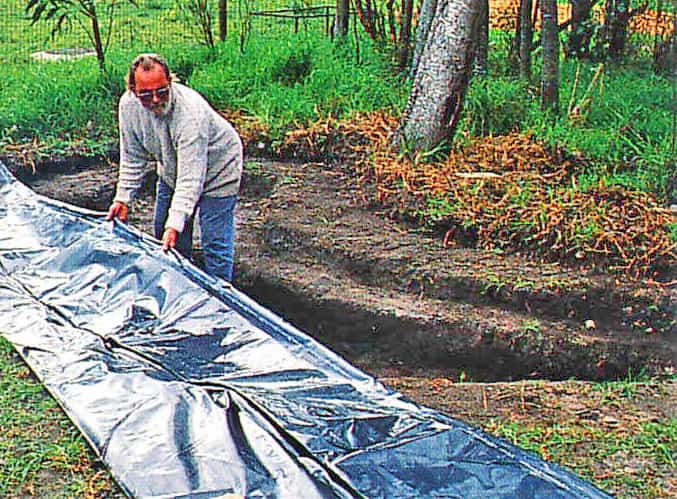
Step 11 – Spread Out Sheeting
Roll out the sheeting to cover the hole for your small duck pond. It is helpful to use paving slabs or bricks to keep the liner in position, especially if you are working alone.
Step 12 – Line Hole
Make sure the liner is fairly well centered and gradually drape it loosely into the hole. Anchor the edges with pavers.
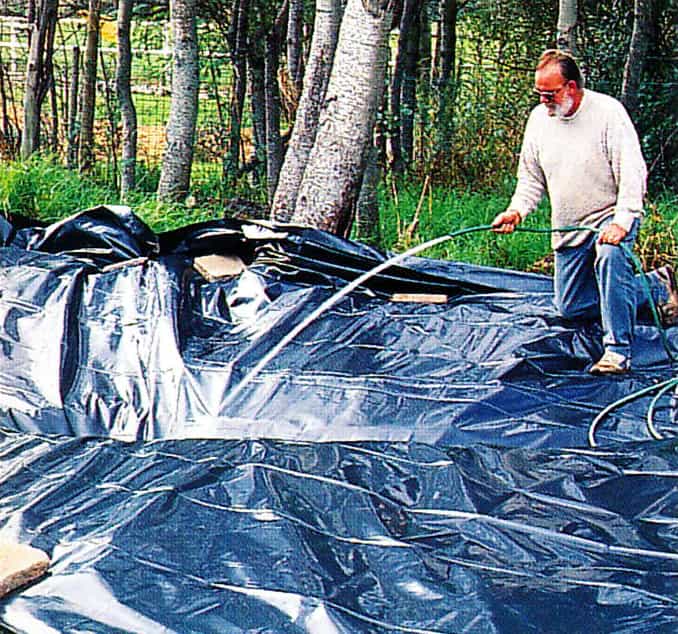
Step 13 – Fill With Water
Now fill the pond with water. As you do this, move the stones to gradually ease the sheeting so that it fits the contours of the excavation as snugly as possible.
Some creasing and even minor folding is inevitable with most materials, but this is not generally a problem.
Step 14 – Trim Plastic
Once the pool is full, trim the edges of the liner, retaining enough to secure it permanently under the slabs. Leave the loose pavers or bricks in position for the time being.
Paving The Surround
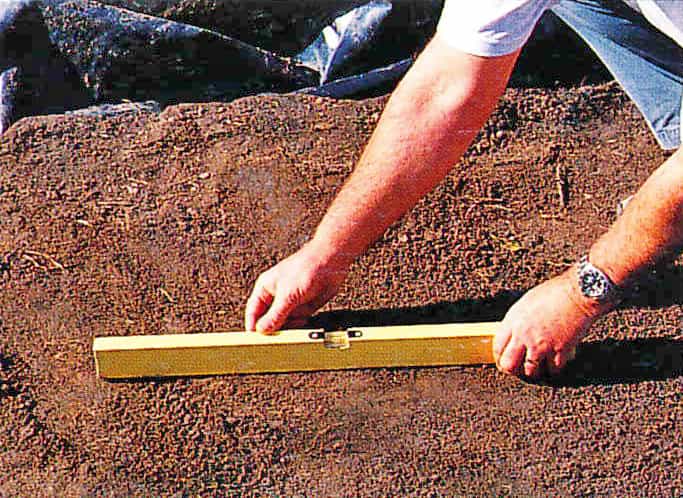
Step 15 – Level Around Pond
Having leveled the ground around your small duck pond, you can lay the paving slabs without any further preparation. You must be sure that the flattened area is wide enough to accommodate the slabs. If it is not, cut back more of the grass and soil and, with the help of a spirit level, check that it is flat.
Step 16 – Mix Mortar
Mix weak mortar in the ratio 1:6, cement to sand, as described in “Pond & Pool Building Basics”. Do not add too much water or it will weaken the mixture and make it too runny.
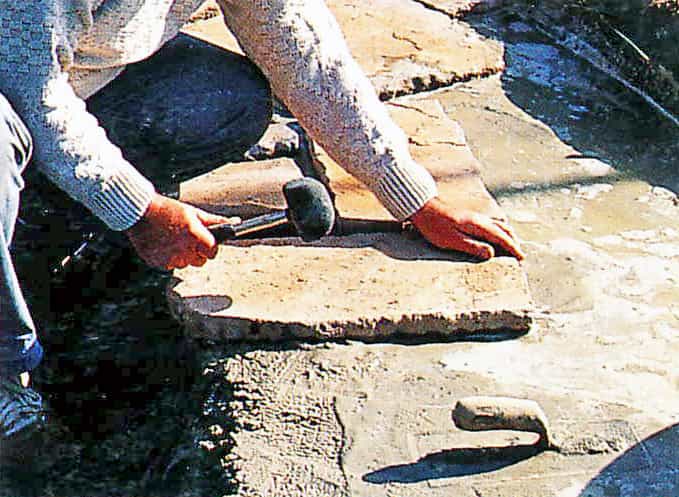
Step 17 – Lay Pavers
Although any paving may be used, a combination of 250 mm x 250 mm
(10 in x 10 in), 250 mm x 500 mm (10 in x 20 in) and 500 mm x 500 mm (20 in x 20 in) reconstituted stone slabs creates a particularly nice effect. Lay the slabs on a 20 mm (¾ in) bed of mortar placed over any projecting plastic, once again using a spirit level to ensure they are straight. The pavers should, if possible, project over the water by about 30 mm (1 in), hiding any exposed sheeting and limiting exposure to sunlight to a minimum. Tap the slabs gently into place using a rubber mallet.
Step 18 – Clean Up
If possible, clean away any mortar which may have dropped into the pond.
Step 19 – Fill Gaps
Once the mortar beneath the slabs has set thoroughly, mix a new batch of mortar and use a trowel to fill all the gaps between the slabs. If the mortar mixture falls onto the slabs, remove it with a damp cloth or sponge while it is still wet. Now trim any liner still visible beyond the paving.
Step 20 – Planting
If there is a lot of mortar in the pond, you may have to drain it before refilling with fresh water. Leave the water to stand for a few days.
Choose a selection of plants from the different groups mentioned in “Finishing Off – Planting, <HERE>” . If you are going to introduce ducks to this pond, avoid expensive plants which they can destroy easily.
NEXT: How To Make A Bentonite Clay Pond >>
<< BACK TO: Step-By-Step


3 Comments