Pool & Pond Building Basics
You do not have to be an experienced builder to construct or install a water feature. There are various types of ponds which you can easily build yourself, as well as fountains and smaller features that take the minimum of time and effort, and very few skills. There are, however, certain basic pond building principles which should be completely understood, and several tried and tested methods of construction and installation which will simplify and expedite the projects you intend to tackle. It is also invaluable to have a thorough knowledge of the tools and materials available, as well as the ability to accurately quantify and cost what is needed.
Tools For Pond Building Basics
While the tools required for any pond building project will depend on the methods and materials used, there is some basic equipment which all Do-It-Yourselfers should have at hand. By using the correct tool for the job, you will not only simplify the project, but ensure that all structures are properly built. Before you start work, ensure you have an adequate tool kit.
Retractable tape measures are the handyman’s best friend. A good quality steel tape with a locking mechanism will enable you to set out projects accurately and without assistance. It will be an invaluable aid when checking the depth of an excavated site and when working with wood.
One of the most basic tools for any DIY’er is the measuring tape here is the best rated (up to over 1,100) that we could find for you to consider
Picks, spades and shovels are essential for excavating in-ground ponds and pools. A pick is indispensable if you are digging hard or heavy clay soil, while a shovel, with its scoop-shaped metal blade, is useful for shifting sand and other building materials. A spade is the most common tool used for digging, as well as for mixing concrete, mortar and so on.
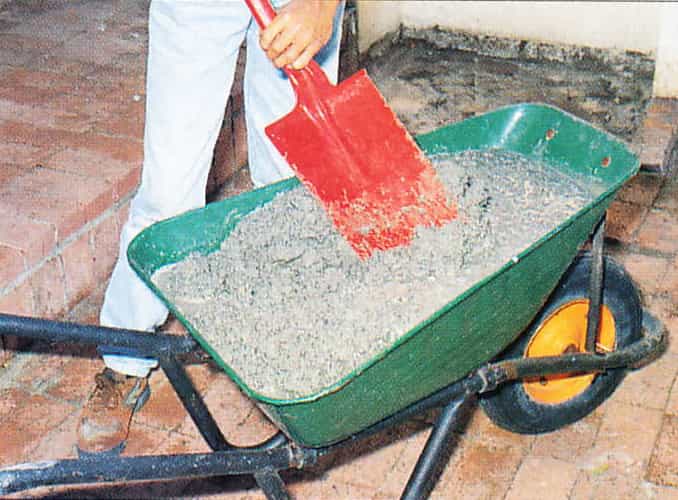
Wheelbarrows are an obvious aid when it comes to shifting excavated soil and transporting bricks and other materials whilst pond building. For minor projects and smaller pools, you can use a shallow gardener’s wheelbarrow; a builder’s wheelbarrow is more practical if you plan to use it for mixing mortar and small quantities of concrete. In any case, it makes sense to buy a good quality barrow with a pneumatic tire.
This sturdy barrow that we found is the most versatile for all DIY use AND it has over 1,800 reviews
Pegs are a practical aid for laying out ponds and artificial watercourses, and for establishing the upper levels around both formal and informal pools. You can buy metal pegs or make inexpensive wooden ones from a stout stick or post.
Compactors are worthwhile items when paving around a pond or pool, or when flattening the interior floor of a sizable water feature. While it is sensible to hire a mechanical compactor for a large project, especially if you are clay puddling to seal it, or if you have to compact hardcore to form a firm sub-base for paving, a homemade punner or ramming tool will be adequate most of the time. To make one, either fill a five-liter (one gallon) tin with concrete and set a pole in the center, or nail a solid block of wood to the end of a post and use this to flatten and compact the soil.
Getting Things Level
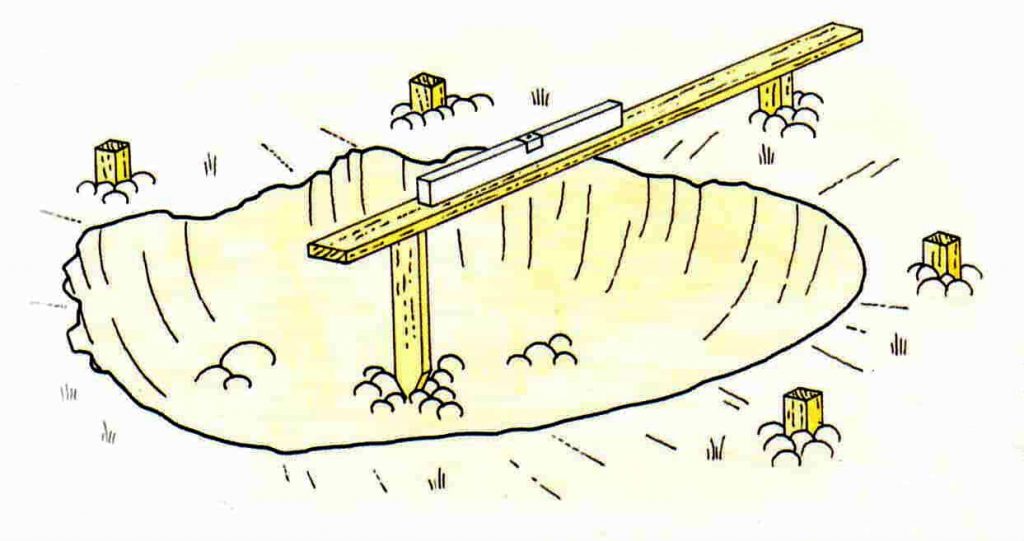
Levels of various kinds are used for just about every building project imaginable – even the simplest. First on the list of requirements is a spirit level which will help you ensure that everything, from brickwork and paving to bridges and even precast fountain features are flat, level and vertical. These fundamental instruments usually have two vials for both horizontal and vertical use. There are various sizes available, but 1.2 m (4 ft) is a handy length for most pond building projects. If you find the spirit level is not long enough, you can always place it on top of a straightedge (usually a straight length of timber), so that it can reach right across the pond or pool (see pic left). Compact carpenter’s squares also incorporate spirit level vials.
A dumpy level is a useful aid when levelling the ground around the perimeter of a large water feature from a given datum point (the known level), or for determining drainage levels (see pic below). The equipment is set up on a tripod a short distance from the pool, and a staff or pole, which has been inserted in the ground at the edge of the excavation, marked to indicate the level required. One person looks through the lens, which incorporates a spirit level vial, and visually lines up the datum point on a series of pegs inserted around the perimeter. A second person marks off the pegs to show where the surrounding surface should be. Since these professional tools are expensive, it makes sense to hire rather than buy one.

Depending on the size of your project you might consider getting a dumpy level, even though they can be a bit costly this one is a reasonable choice
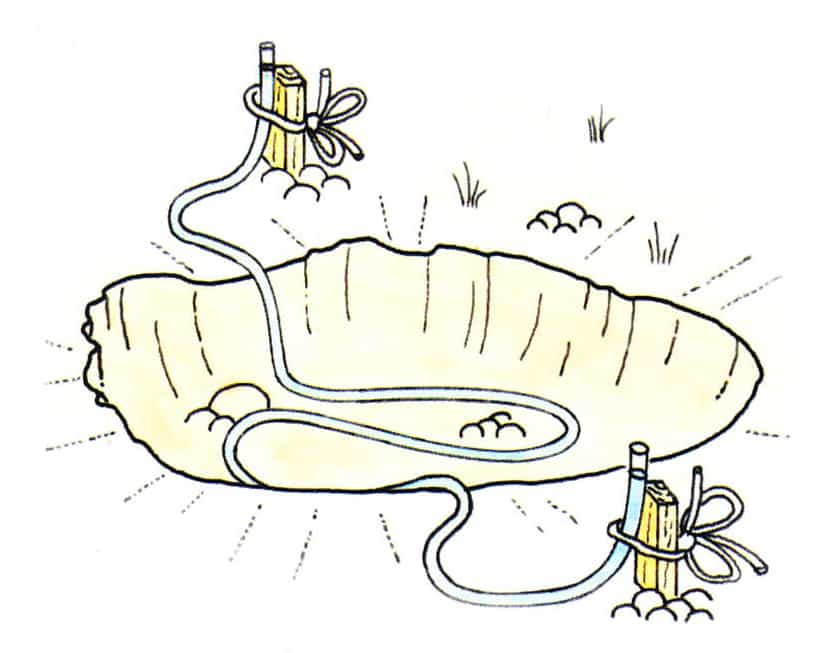
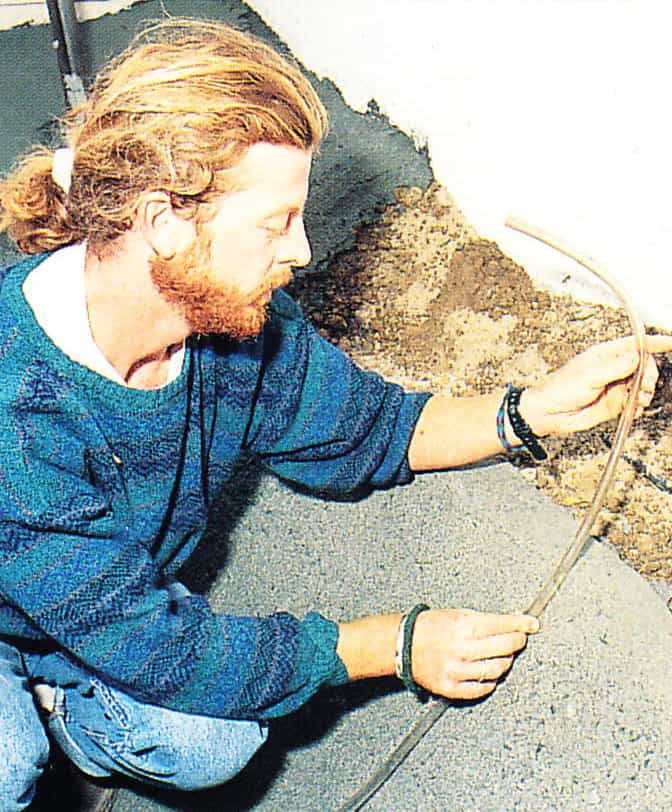
A water level, which is among the least expensive tools of any builder’s trade, is invaluable. Working on the principle that water finds its own level, it has a multitude of uses. When building a pond or pool, a level of this kind will enable you to accurately mark the surface area around the water, from a known datum point. Rather than using expensive professional equipment, all you need is a length of flexible transparent tubing and some water. When working alone, you can attach each end of the tube to a post and check the levels in this way; or ask a helper to hold one end in position and then move the other end of the tubing yourself, to establish the true horizontal level at other points around the pond.
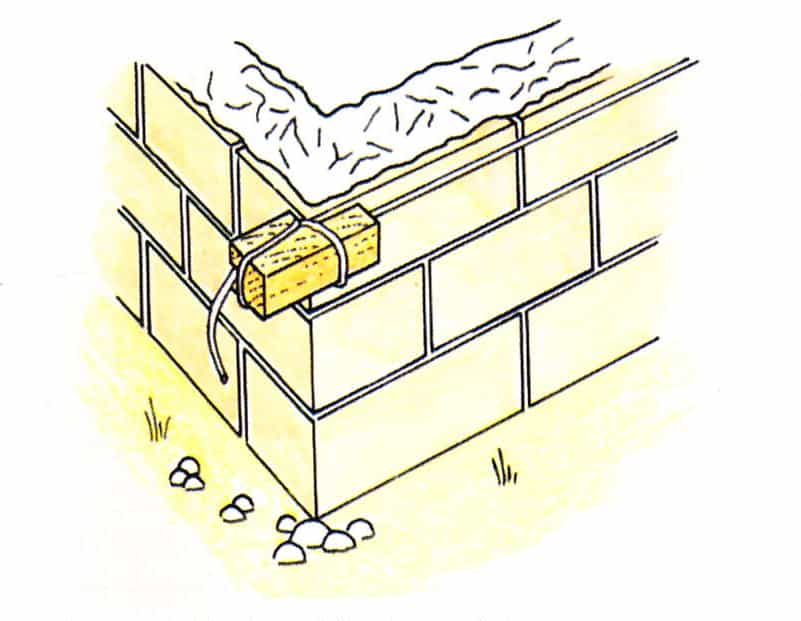
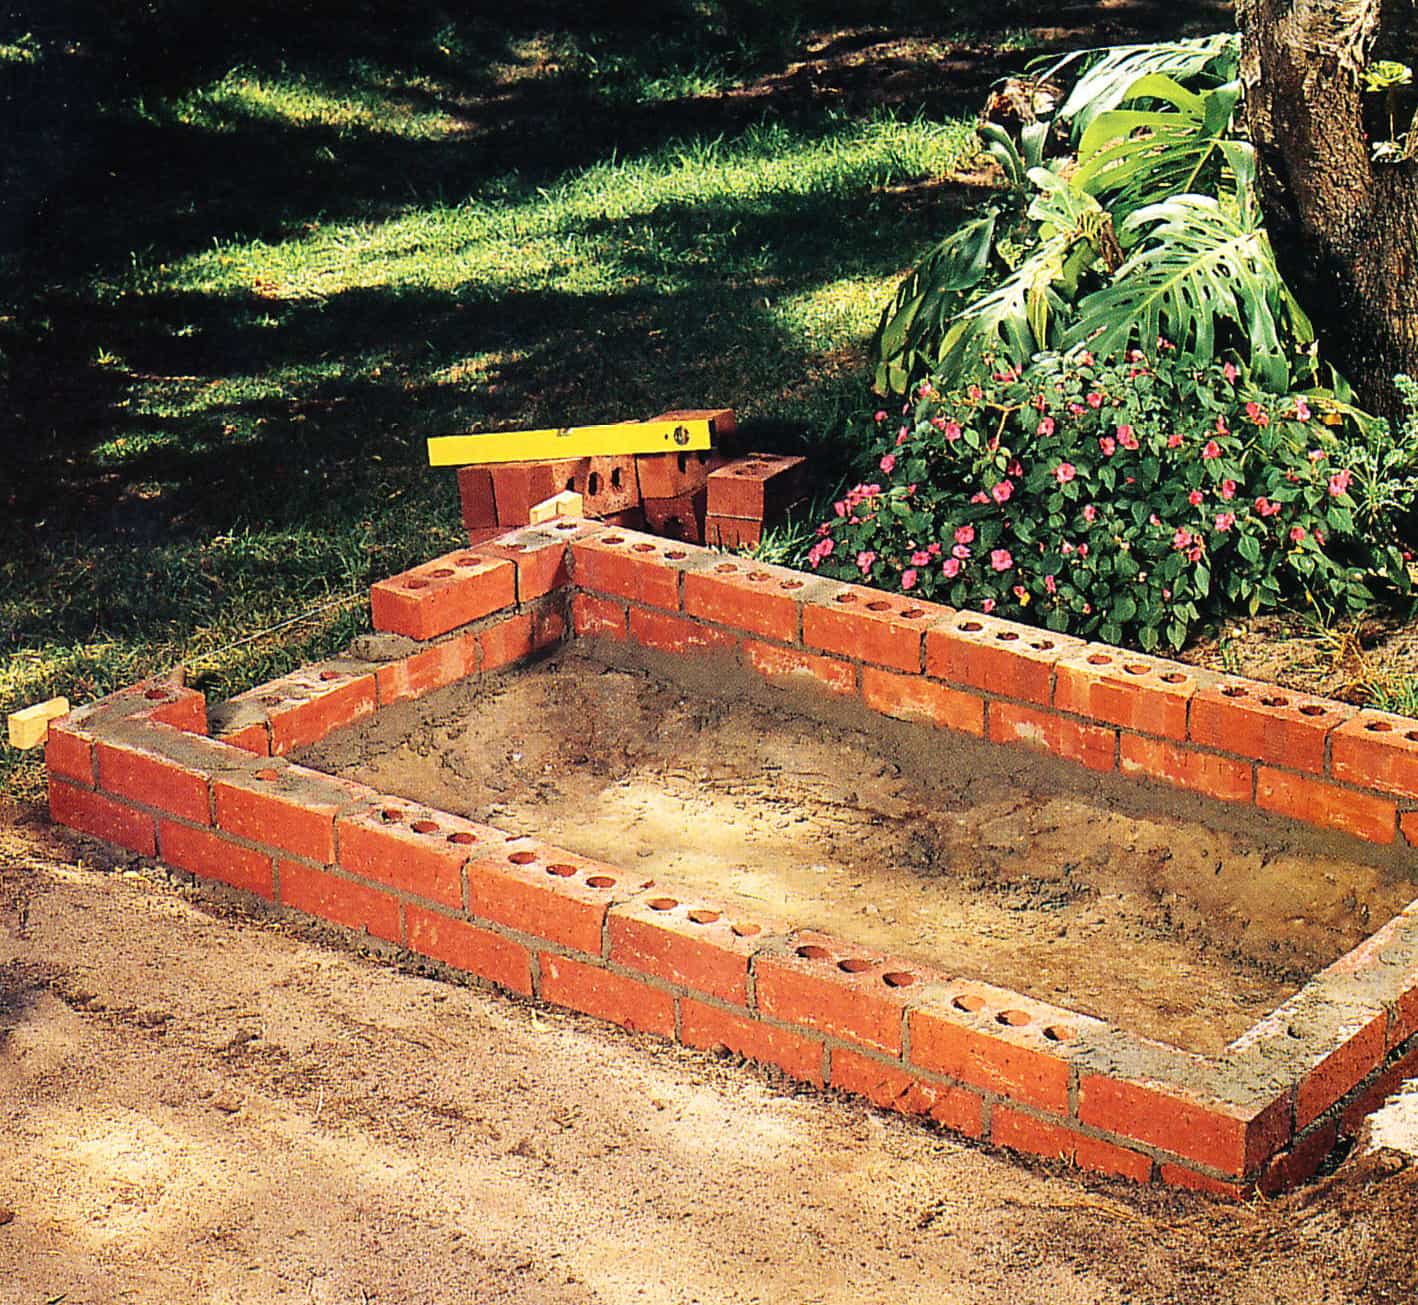
Homemade corner blocks are ideal for keeping courses level when laying bricks. These are made by sawing a groove in L- shaped pieces of wood. Builder’s line or string is then wound around two blocks (see illustration) which are then slotted onto each end of the brickwork.
Squares, made to form an exact 90° angle, are essential for checking corners, not only of formal pools, but also of regular stepping stones and any other structures you may wish to include in the water feature. A builder’s square, usually made of steel and considerably larger than a normal mathematical set square, is the most common tool used for any building project. When laying out rectangular and square ponds a homemade square is useful. This tool can be nailed together using three lengths of wood to form a right-angled triangle in the ratio 3:4:5. lt may be as big or small as you wish, but the timber should not be warped, and you must be able to transport and handle it with ease. Three lengths measuring 900 mm, 1.2 m and 1.5 m (3 ft, 4 ft and 5 ft) work quite well.
Carpenter’s squares (or try-squares) usually made with one wooden and one metal side, sometimes have a spirit level vial for accuracy. Although these are too small for construction work, they may be used for smaller pond building projects, as well as those which involve woodwork.
Here is a highly rated carpenter’s square pack
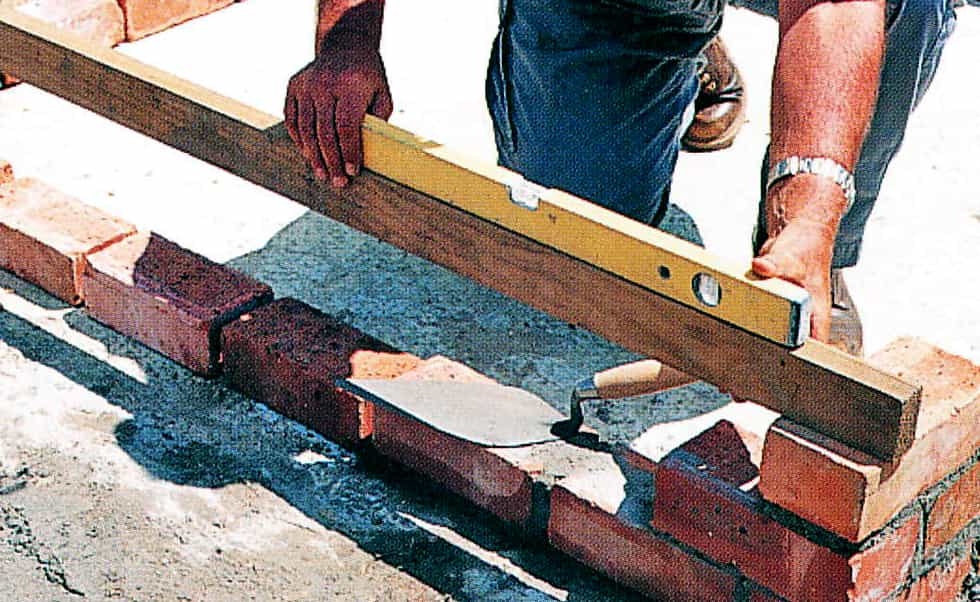
Straightedges are, quite simply, straight, even lengths of wood or light metal (aluminum for instance). It is easy to make your own – a spirit level, for example, may be used as a straightedge – or you can buy one. A straightedge has become one of the most important items in both a DIY and a professional tool kit and it is used for all kinds of building projects – in conjunction with a spirit level over an excavated hole or across a large area; to flatten building sand beneath paving; or it may even be used to level off a concrete slab. Marked off to indicate even brick courses plus a mortar joint, this tool may be used as a gauge rod during bricklaying.
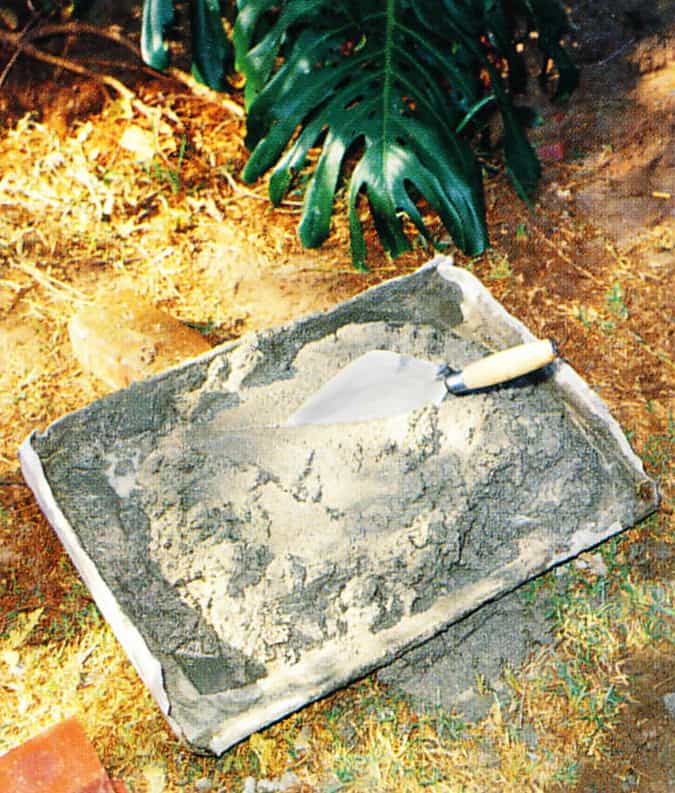
Trowels are essential items and pond building basics in the tool kit of anyone building a brick or concrete shell. A bricklayer’s trowel is used for spreading mortar, jointing paving slabs, and even for leveling small areas of concrete. A smaller trowel may be used to neaten the joints in the face-brick walls of a formal pool, although special pointing trowels are available; or you can use a piece of metal. Rounded trowels, which are used by contractors building hand-packed concrete and plastered swimming pools, are useful for smoothing the inside shell of rendered ponds.
A rectangular-shaped plasterer’s trowel is used to apply render or plaster to walls, and to float the surface of a plastered wall or floor screed when a very smooth finish is required. Angle trowels are invaluable for neatening both inside and outside corners of formal plastered ponds, and the supporting piers for stepping stones. Notched trowels are utilized for tiling.
A wooden float, which has a similar shape to a plasterer’s trowel, is usually used to smooth the wet render after it has been laid on.
Hawks, which are used by most artisans, are useful for holding render and mortar when rendering or bricklaying. These tools, also known as mortar-boards, have a handle which is more convenient than the piece of flat metal or board usually chosen by most handymen.
Other Essential Tools
Cutting tools of various types are required for many of the projects. You will need a pair of sharp, general-purpose scissors to trim plastic liners, an angle grinder or tile-cutting machine if you are finishing an edging or stepping stones with tiles, and a saw to cut wood. A bow saw is useful for sawing logs and wooden poles, and a tenon (or back) saw, for most other small jobs. A hacksaw, which may also be used for cutting metal, is favored by many DIY enthusiasts. An electric jigsaw, which will cut both straight and curved edges, is indispensable for those tackling the wooden bridge project.
The chisel end of a brick hammer or a brick bolster with its wide blade, will, as mentioned above, enable you to cut bricks to the required size or shape.
Hammers are tools which most people have, even if they are not DIY enthusiasts or particularly handy. The most useful is an ordinary claw hammer, designed for both knocking in and extracting nails. A hefty club hammer, used in conjunction with a wide-bladed cold chisel (brick bolster), or the chisel end of a brick hammer, may be used to cut bricks. A rubber mallet, which looks rather like a hammer, has a heavy rubber head, and is useful for tapping paving bricks, blocks and precast slabs firmly into position.
Screwdrivers and spanners are used for woodwork (building bridges, decking and so on) as well as for attaching some fountain fixtures and fittings to walls. Various spanners, including flat, socket and ring types, are required for tightening nuts and bolts, while screwdrivers are, of course, used for fastening screws. You can buy a set of screwdrivers, in different sizes, with both flat blades and cross-point drivers (for Phillips, Pozidriv and Supadriv screw heads). A spiral ratchet screwdriver, with interchangeable blades and drivers, is a good investment not only for pond building.
This screwdriver multi-tool kit is a “Best Seller” and worth a look
Wood screws and self-tapping screws which are described by number, are available in a wide range of lengths and diameters or gauges which are described by number. A number 6 screw, for instance, may be anything from 13 mm to 50 mm (½ in to 2 in) long, with a shank diameter of 3.5 mm (1/8 in). Bolts are described by their length and diameter.
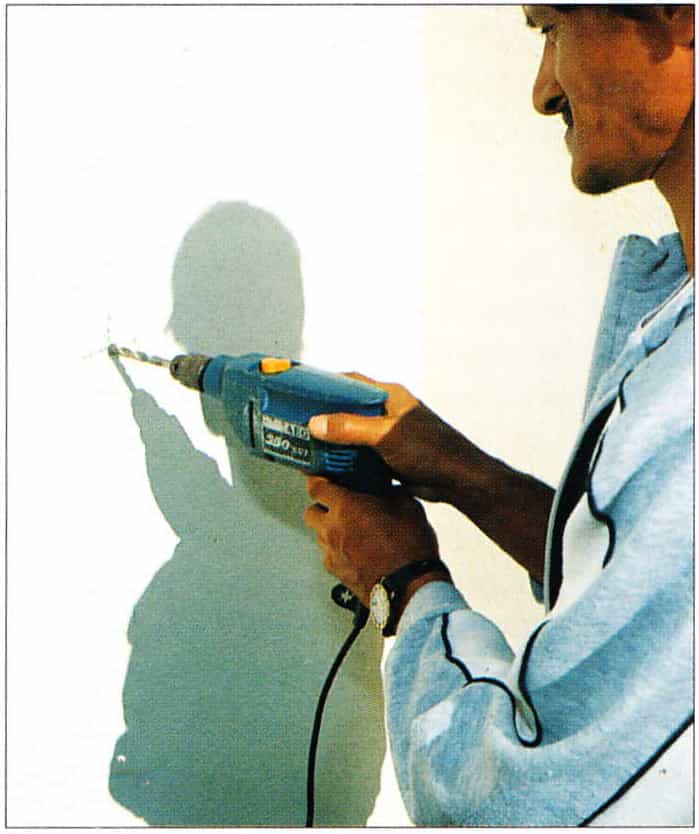
Drills are not generally important for the construction of ponds and pools, although you will need one if you are incorporating wooden features or affixing a wall-mounted gargoyle on a fountain. Most DlYers will already have an electric drill which is more versatile than a hand drill (wheel brace), and you will be able to use it for a wide range of additional tasks. There is a large assortment from which to choose, but those with a variable speed are generally recommended. Models with a hammer action will enable you to drill into concrete, bricks and timber. Before you can use your drill, you will need a selection of masonry bits for drilling into brickwork and concrete, and a choice of wood bits for making holes in timber.
Sanders There is not much sanding to be done when building water features, and a sheet of a suitable grade sandpaper combined with a little physical effort, will usually suffice. However, both belt sanders, which will level slightly rough wood, and orbital sanders, for finishing, will prove invaluable if you are building wooden bridges or erecting decking. A carborundum stone is effective for smoothing the edges of cut tiles.
NEXT: Materials For a Water Feature >>>
<<< BACK TO: Step-by-Step



7 Comments