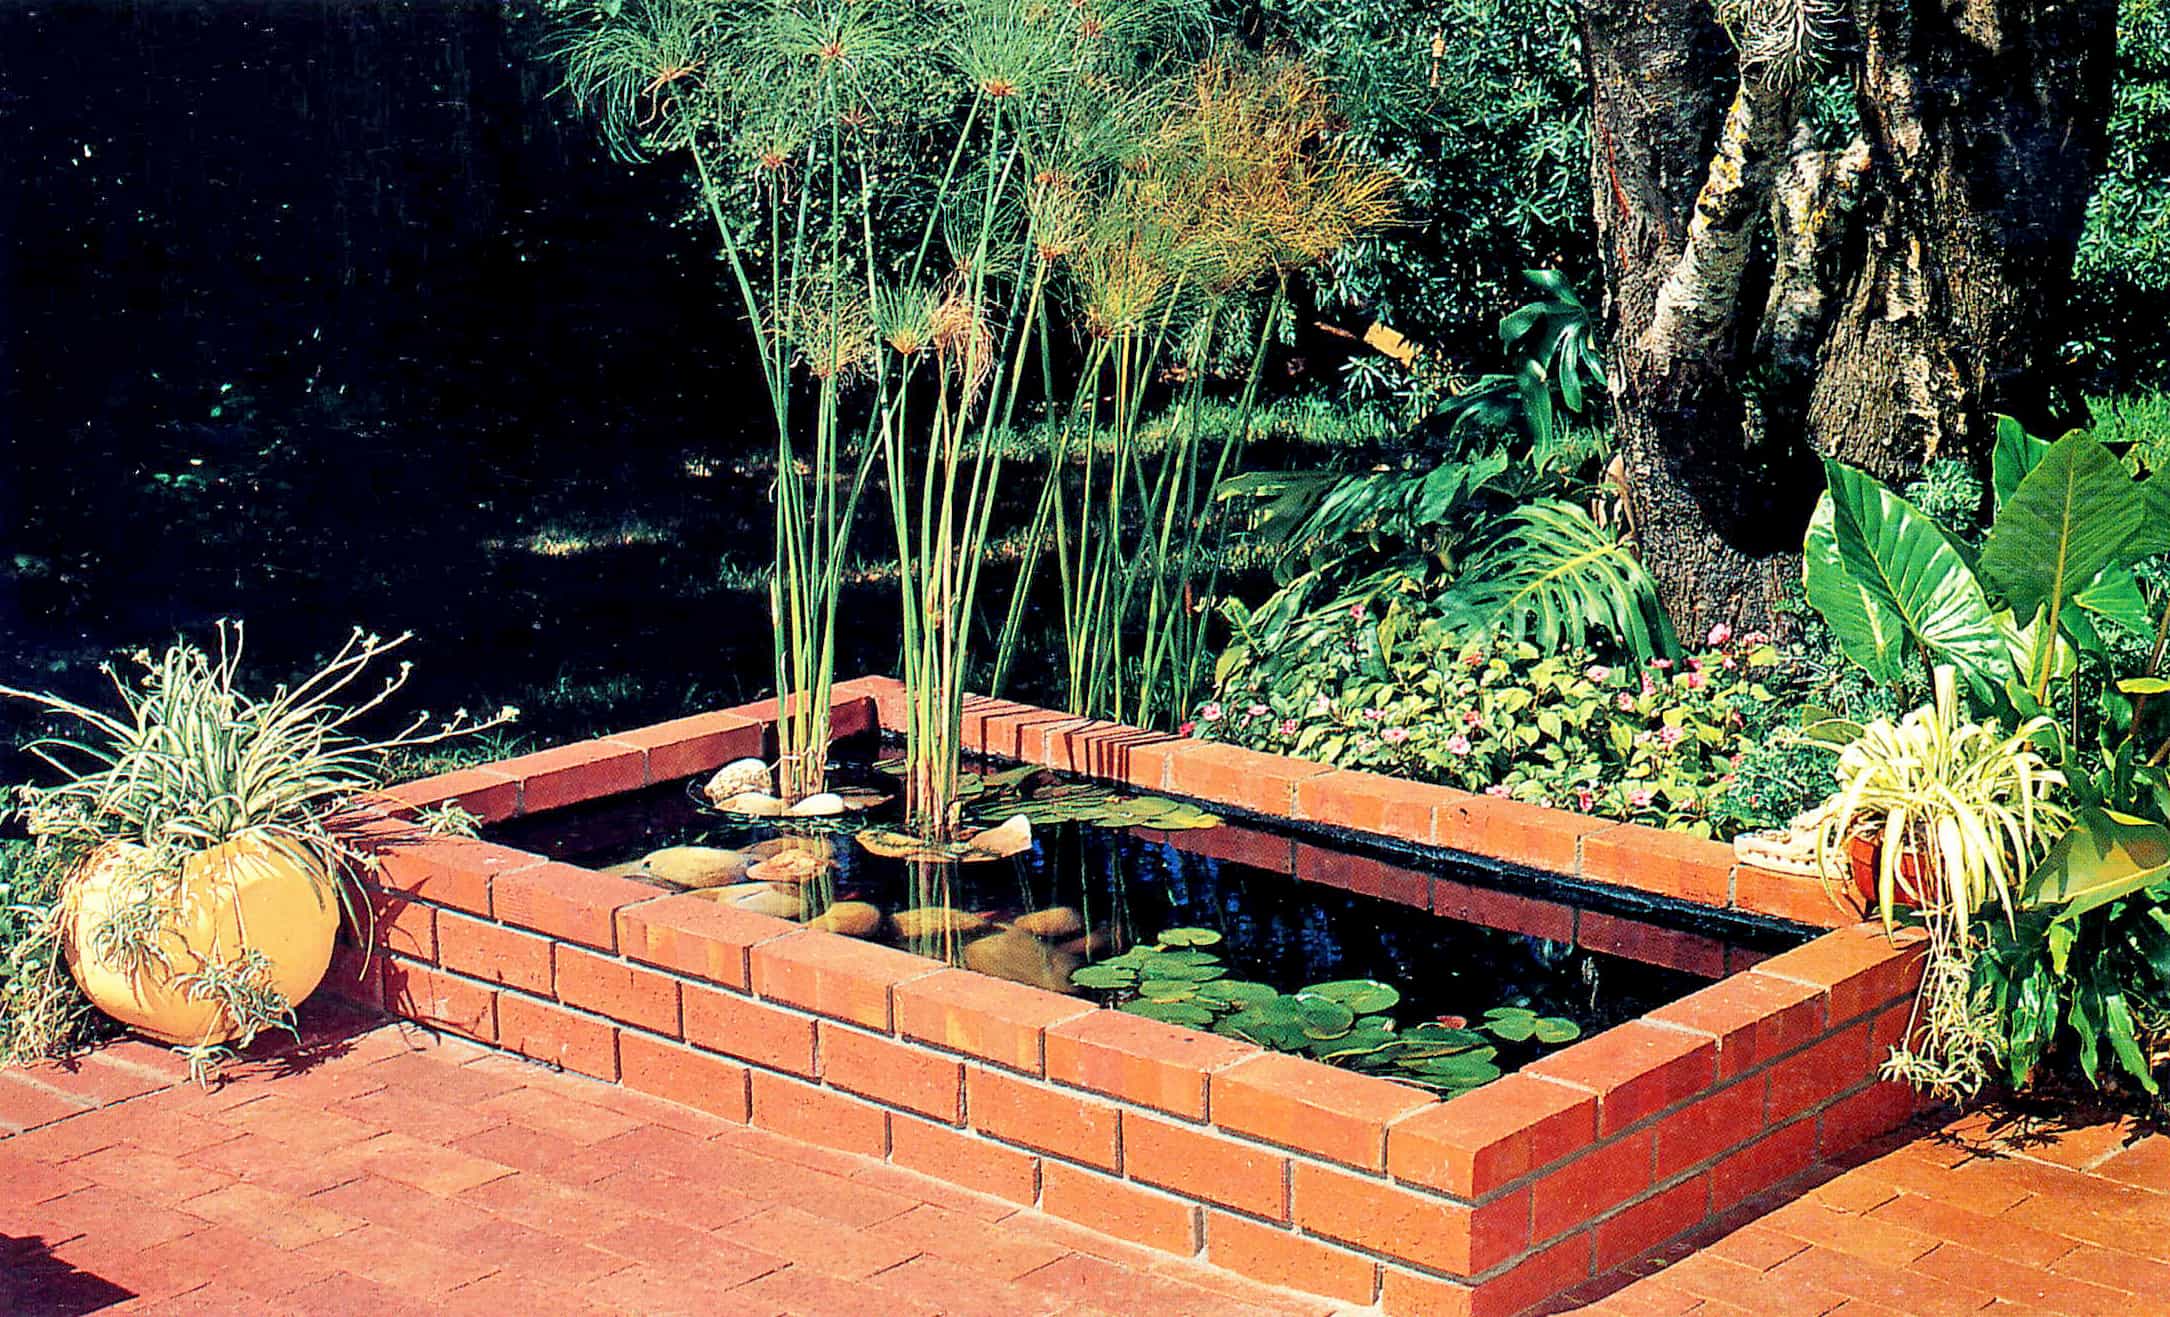
Formal Face Brick Pond Step-by-step
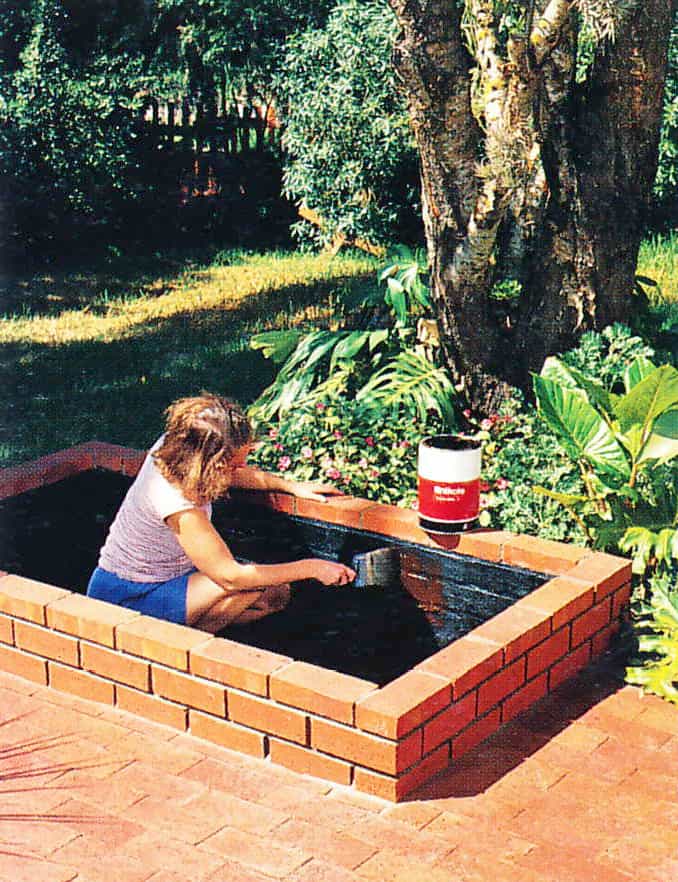
A formal face brick pond that is a reflective pond need not necessarily be large. Provided a portion of the water surface is kept clear of plant life, even the smallest pond can have dramatic, reflective qualities. This design, which was built by Penny with a little help from me using just 150 bricks over a single weekend. This Formal facebrick pond is raised above the ground and is deep enough for both fish and aquatic plants.
By restricting plant life to water lilies and potted papyrus (Cyperus papyrus), a good expanse of water is still visible. The inside surface of this formal face brick pond was painted with four coats of rubberized bitumen sealer to make it watertight. You may, if you wish, render the walls as well as the concrete floor before sealing to help guarantee it is impervious and will not leak. Other waterproofing possibilities are mentioned <HERE>.
You have arrived at this page because you might have searched for:
• How do you make a koi pond step by step?
• How do you seal a brick fish pond?
• Can you put bricks in a pond?
• How do you waterproof a fish pond?
• Can I paint my pond liner?
• How to build a raised pond step by step?
• How to build a raised pond with bricks?
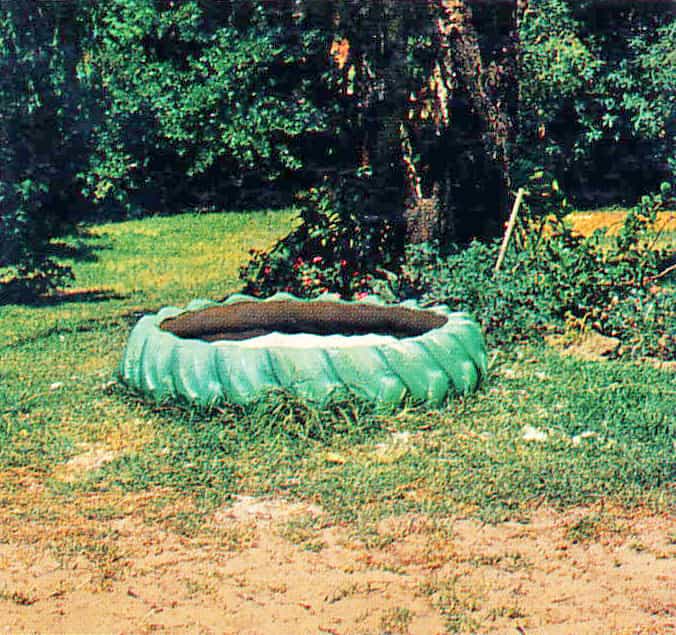
Materials
For a rectangular pond, 1.9m x 1.2m (6ft4in x 4ft):
125 face bricks
25 paving bricks
175kg (385lb) cement
435 kg (0.4 cu yds) sand
250 kg (550 lb) stone
waterproofing additive (optional) 20 liters (4½ gal) rubberized bitumen sealer (depending on brand)
Here are some useful items that you might need for this project:
Spade
Level
Wheelbarrow
Trowel
Non-toxic Rubberized Sealer

Preparation
Step 1 – Peg Out Pond
Peg out the area of the formal face brick pond and string a line between the pegs. Then dig out the soil to about 300-400 mm (1 ft-1 ft 4 in)

Concrete
Step 2 – Mix Concrete
Now for the arduous part. Mix the concrete in the recommended ratio 1:2:2 (cement:sand:stone) and roughly line the bottom and sides of your excavated hole, leveling the concrete mixture with a spade or trowel. For this pond, you will need almost two bags of cement for your concrete. If you wish, you can add a bonding compound (waterproofing additive) to the mixture to improve the waterproof qualities of the pond, but follow the manufacturer’s instructions carefully.
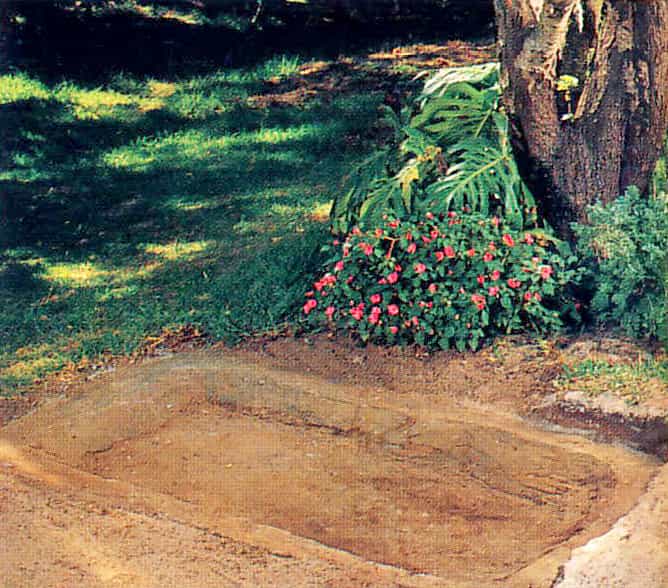
Step 3 – Get The Surface Smooth
Use a trowel to get the surface reasonably smooth, taking care to level the upper rim which will form a foundation for your low brick walls. Leave the concrete to set for at least 24 hours before tackling the brickwork.
It is essential to have a good quality trowel to do any sort of concrete and plaster work”
Brickwork
Step 4 – Mix Mortar
Lay out the first course of bricks to ensure they fit and then mix mortar in the ratio 1:3 (cement:sand). You will need approximately three-quarters of a bag of cement (37.5 kg or 82 lb 8 oz) to lay all the bricks, but only mix as much mortar as you can use in two hours.
Step 5 – Lay Bricks
Now you can begin laying the bricks in the usual way. Remember to check frequently with a spirit level to ensure that they are level and plumb. Use a builder’s square to make certain all four corners of this formal face brick pond are at right angles.
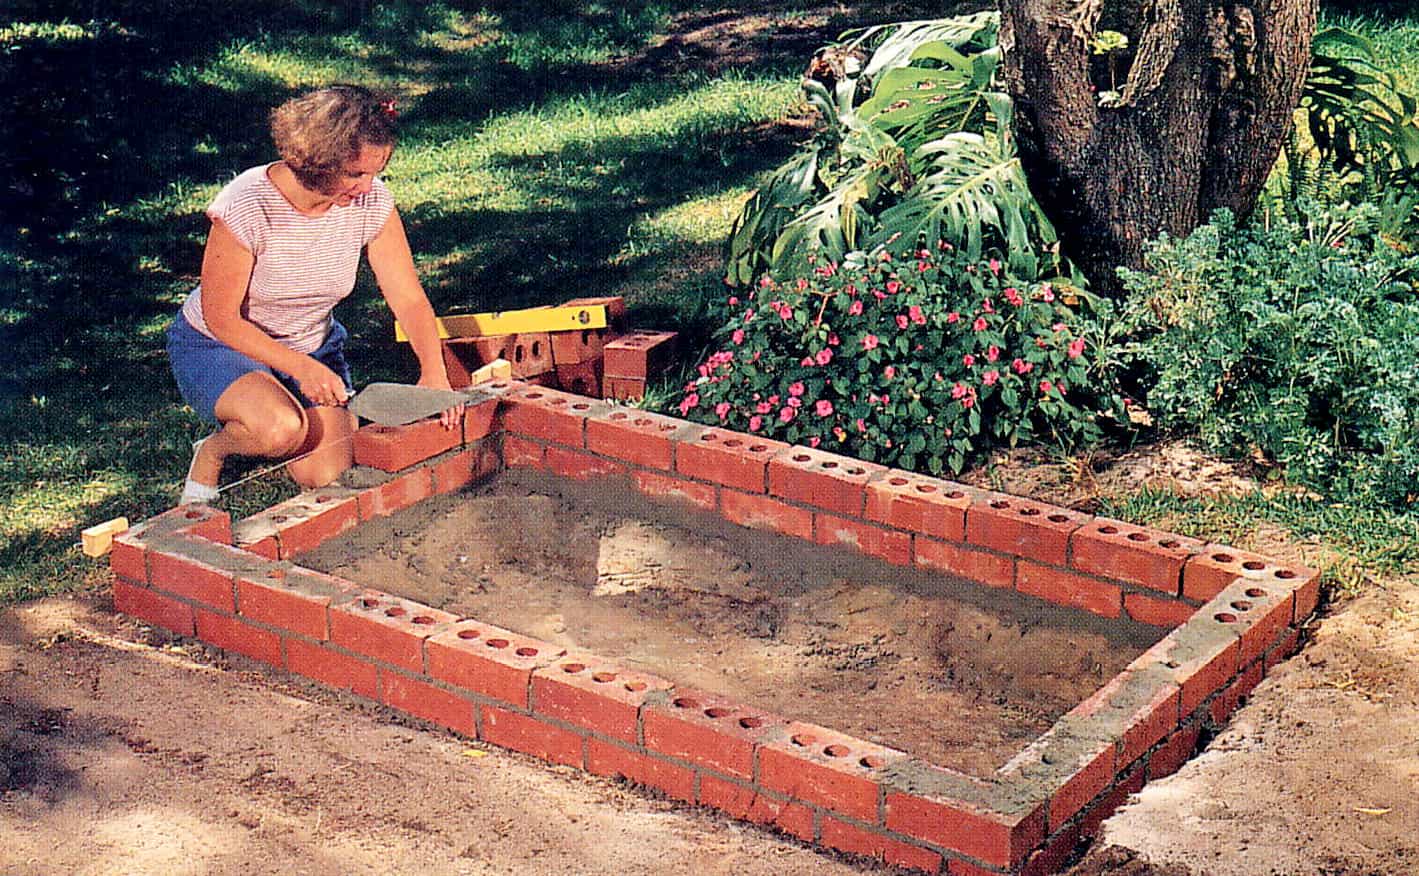
Step 6 – Builders Line
Corner blocks and a builders line will help you to keep the brickwork straight and level. Since you are laying light-toned face bricks, it is important to clean off all excess mortar as you work. Scrape the trowel upwards against the brick to do this.
Step 7 – Build Up 5
Continue to build up the walls until you have five courses, then top this with paving bricks to finish it off neatly. You could also use tiles, or larger paving slabs which would overlap the wall slightly.
Step 8 – Rake Out Joints
To achieve a really good, even finish, use a piece of metal or a jointing tool to rake out a little of the mortar between the bricks. Allow the mortar to set overnight.
Sealing
Step 9 – Make Watertight
It is essential that the concrete base of the pond is rendered. To ensure the pond is watertight, you may render the inside walls, but you will have to increase the quantities of materials listed. Ensure that the render is about 15 mm (½ in) thick.
Step 10 – Paint On Sealer
Once the render has set, you can paint on the rubberized bitumen sealer, polyurethane or any other suitable sealant. Follow the manufacturer’s instructions and thin the first coat if required.
A selection of Pond Sealers for you
Filling the pond
Step 11 – Fill With Water
When the bitumen is dry your formal face brick pond can be filled with water. You can add interest to the pond by placing river rocks on the bottom and grouping plants around them. If necessary, set pots on bricks or flat-topped rocks to achieve a good balance of plant life in the pond (see later pages or ideas on appropriate plant species).
ENJOY!
<<BACK: Step-by-Step




2 Comments